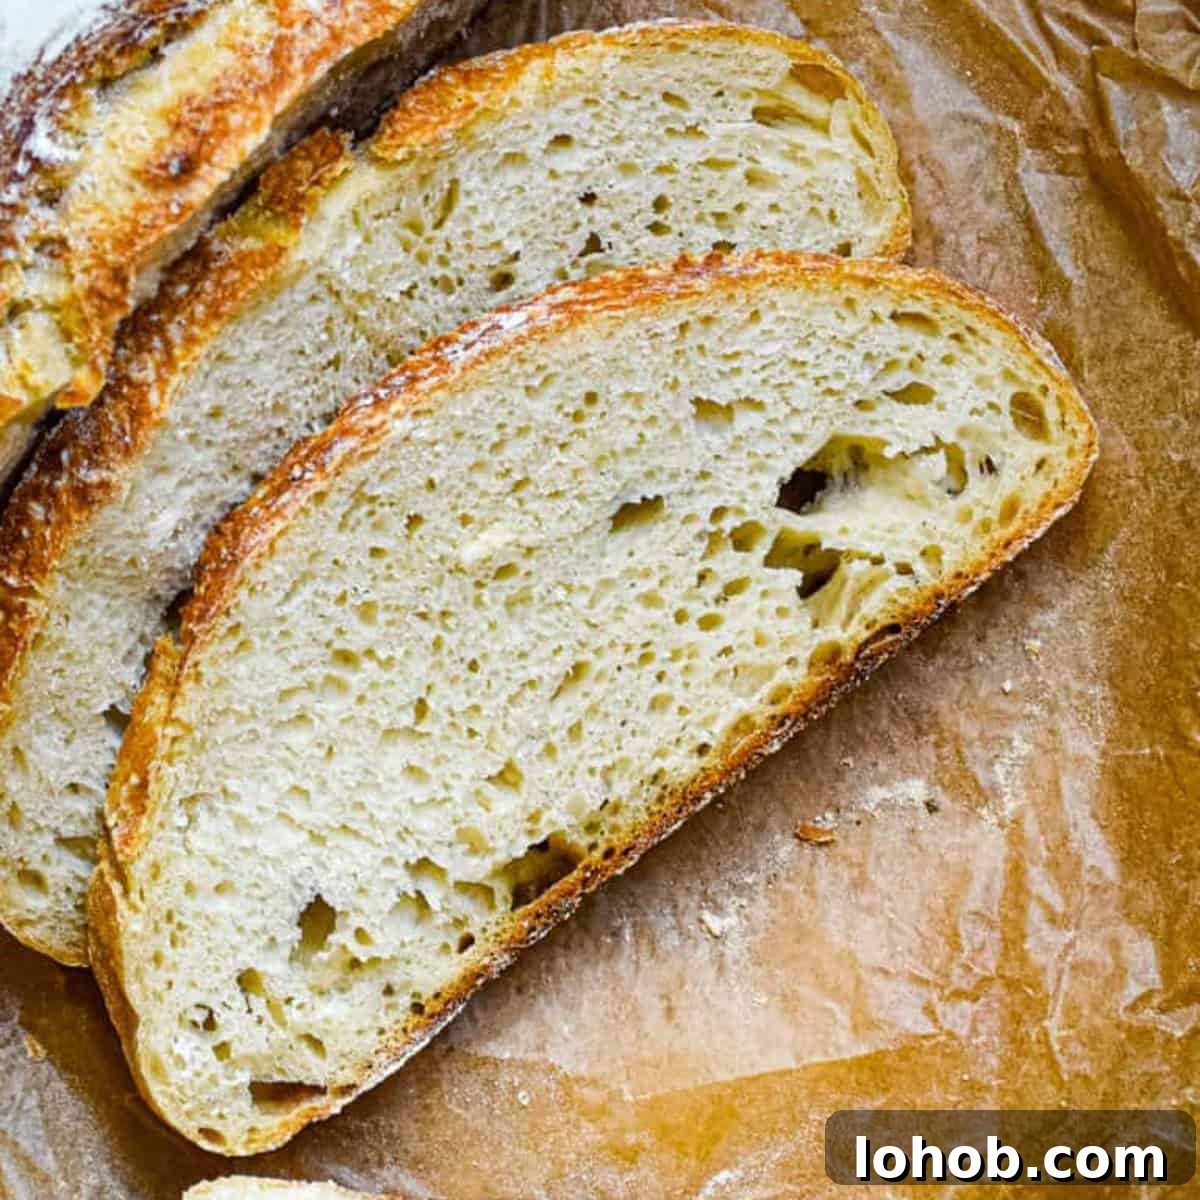
You’ve just begun your sourdough journey and you keep hearing the term sourdough hydration. What does it mean, and why does everyone make such a fuss about it? In this post I’ll walk you through what hydration is, how to calculate it, how it affects your starter and loaves, and simple ways to adjust it so your baking improves faster.
For more help and recipes, check my sourdough resources to build confidence and skill quickly.
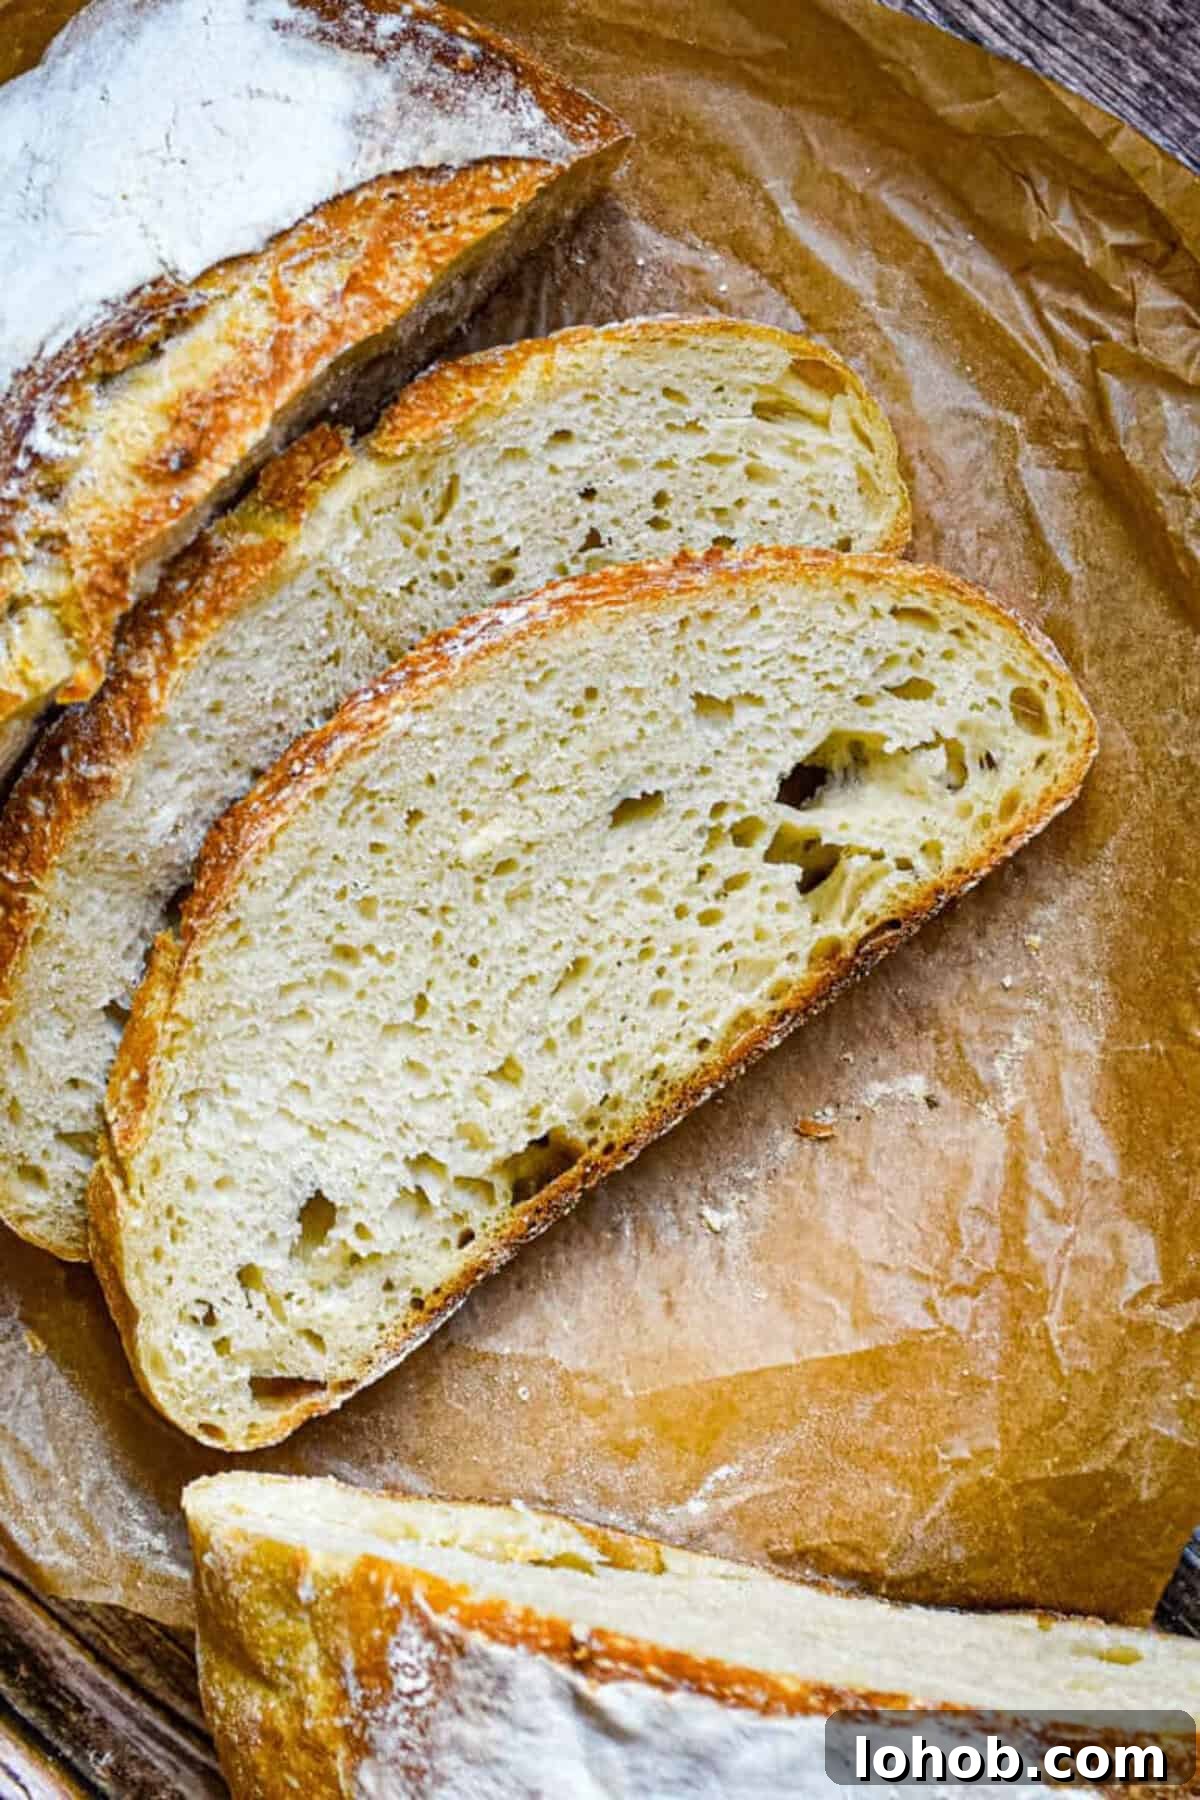
What is Sourdough Hydration?
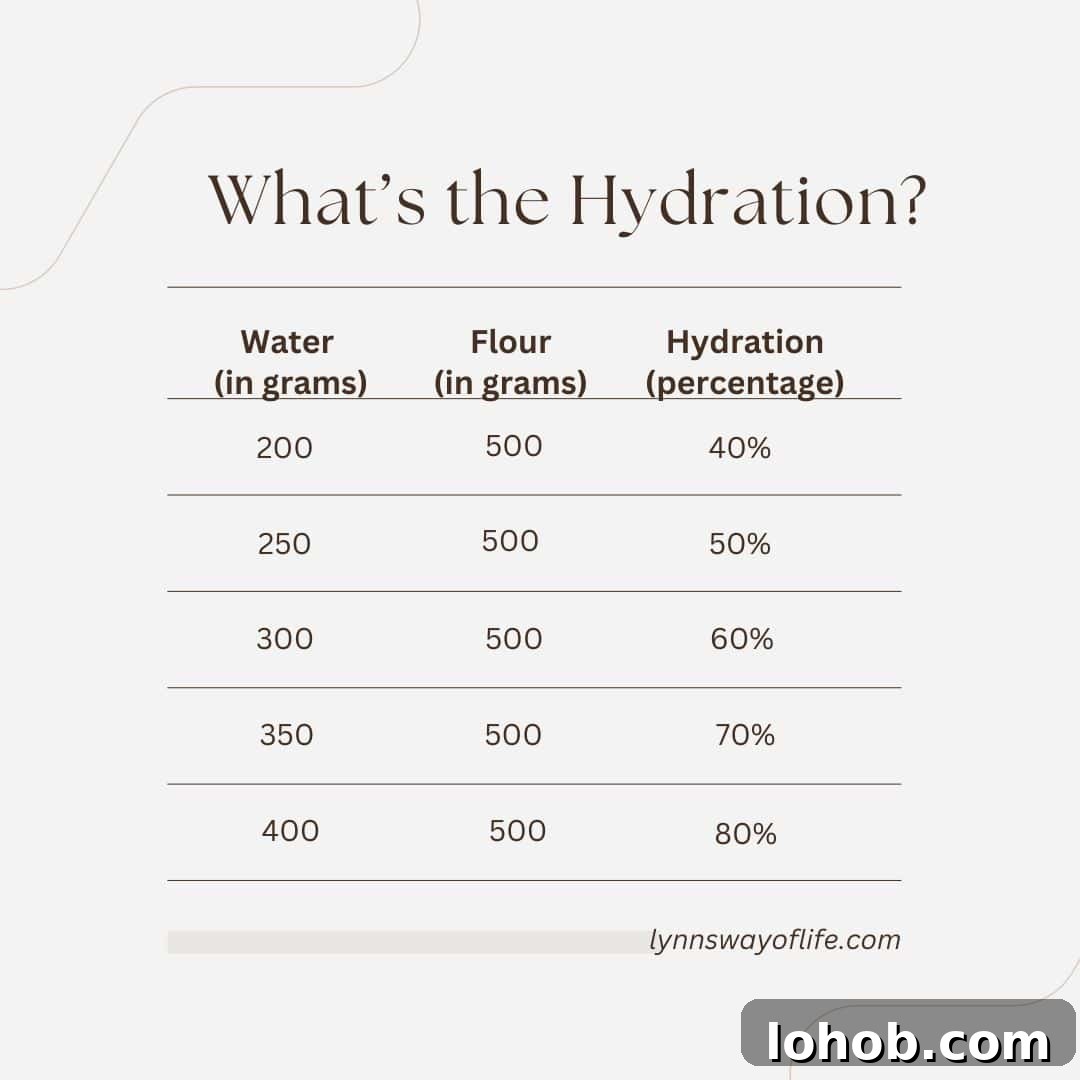
Hydration describes the ratio of water to flour in dough and is always given as a percentage. You calculate it by dividing the weight of the water by the weight of the flour and multiplying by 100. So, 350 grams of water and 500 grams of flour equals 70% hydration (350 ÷ 500 × 100).
Hydration has a big influence on how your dough behaves, the crumb structure, the crust, and even the flavor of the finished loaf. Mastering hydration is one of the quickest ways to control the style of bread you bake.
Hydration in Your Sourdough Starter
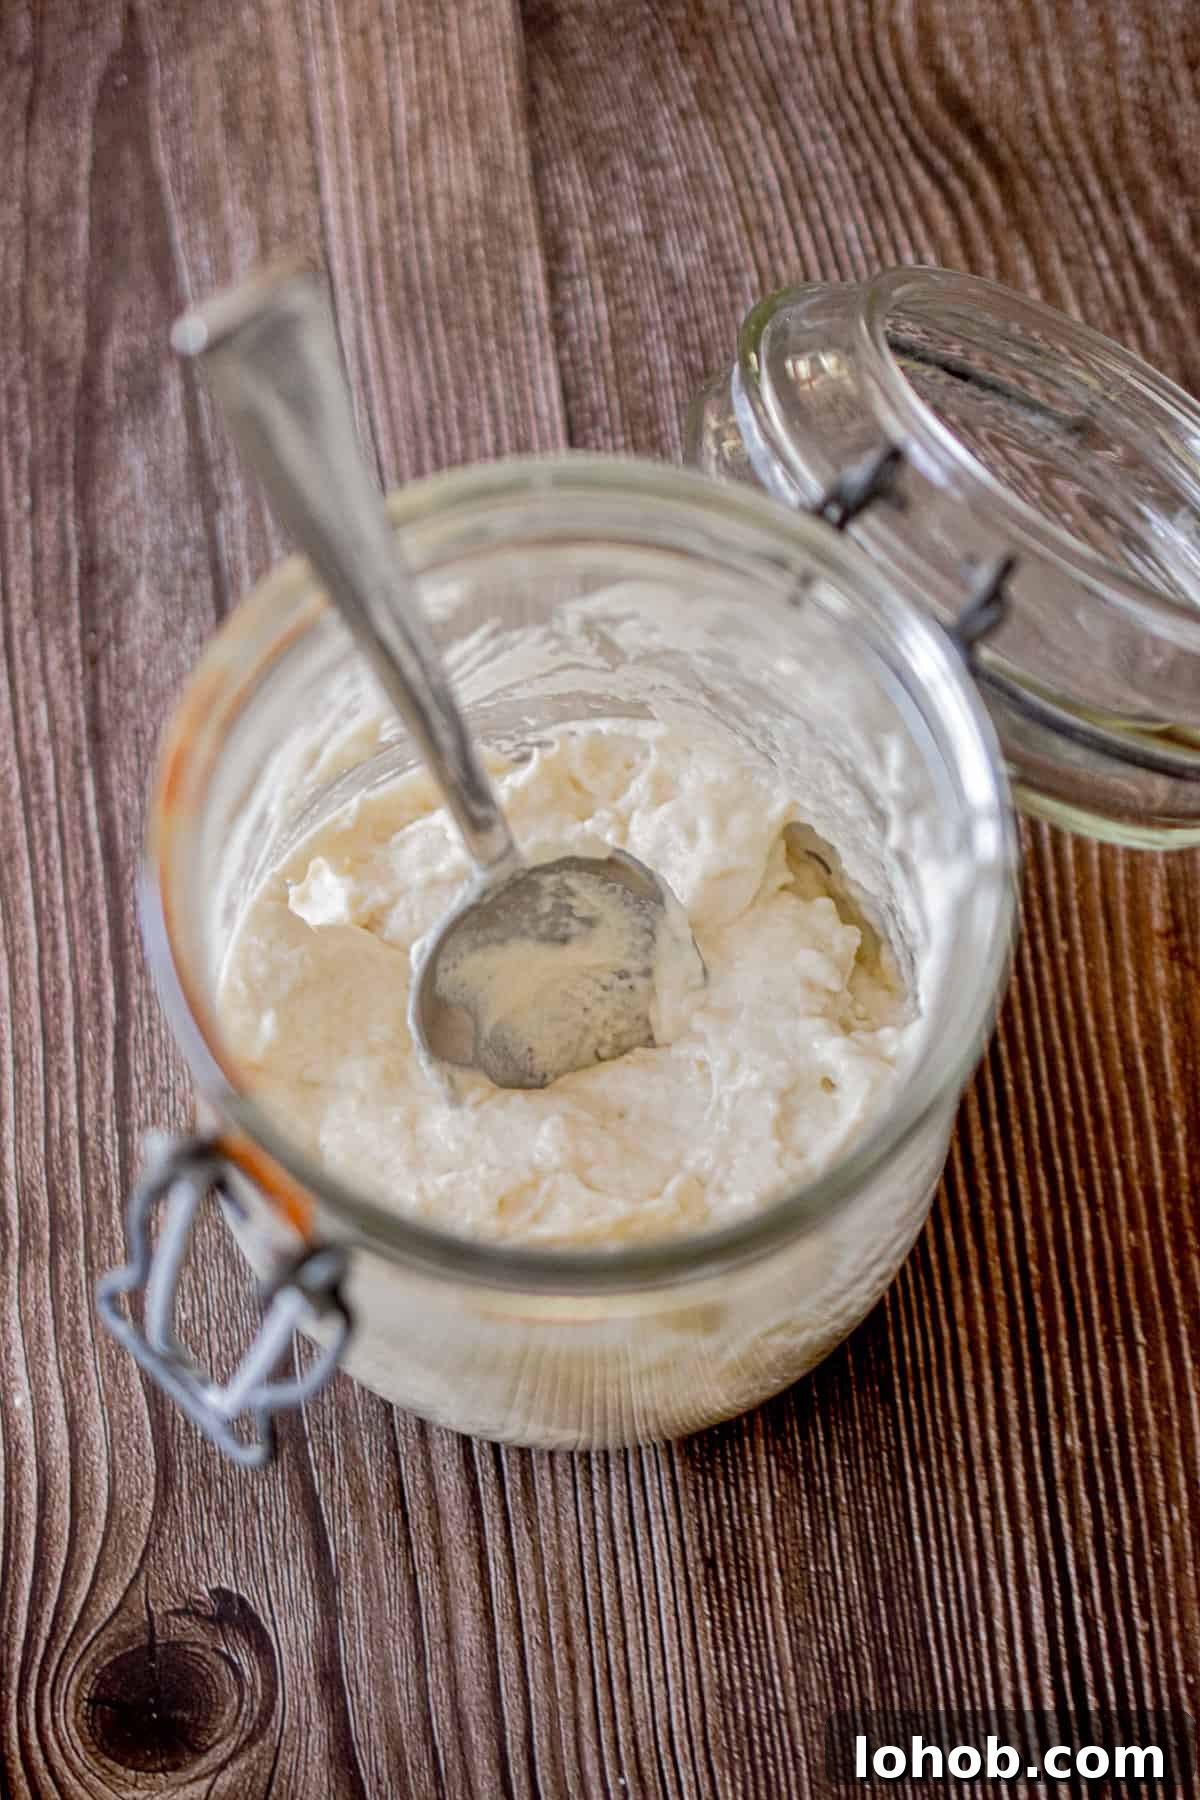
Your starter also has a hydration level and that affects how it performs. A common, easy-to-manage choice is a 100% hydration starter—equal parts water and flour by weight. This produces a batter-like starter that is active and easy to mix into dough, and it typically gives good rise within about eight hours after a feeding.
You can also keep a stiffer starter at a lower hydration. A stiff starter feels more dough-like, ferments more slowly, and often develops a tangier flavor. It’s useful for less frequent bakers because it’s more stable, but it can be harder to incorporate into dough.
Try both approaches and see which fits your timetable and flavor preference.
Why Is Hydration Important?
With so few ingredients in sourdough, the water-to-flour ratio has an outsized effect on the final loaf. Key impacts include:
Texture: Higher hydration generally yields a more open crumb with larger, irregular holes—classic artisan bread. Lower hydration produces a tighter, more uniform crumb good for sandwiches.
Flavor: More water typically promotes longer fermentation, which deepens flavor and can increase tang.
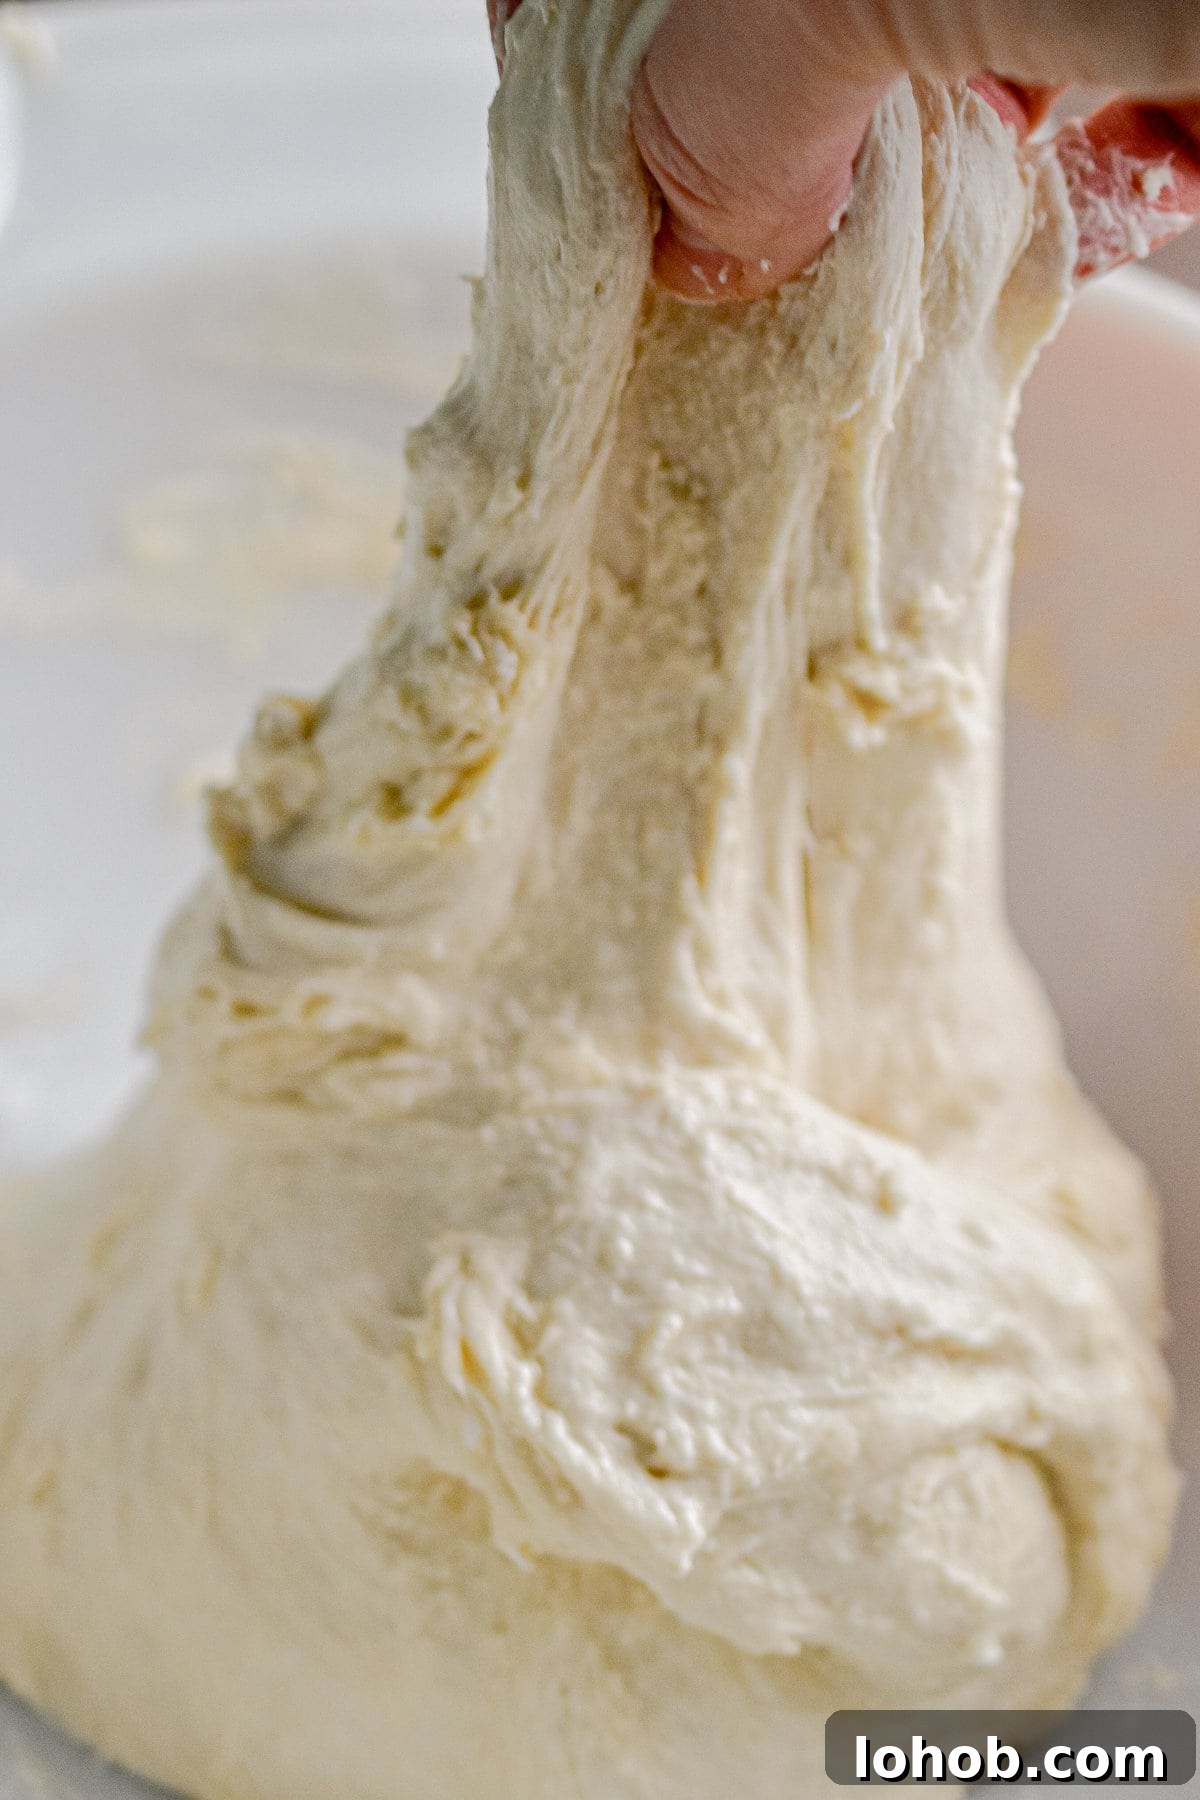
Handling: wetter dough feels stickier and can be trickier to shape, while drier dough is firmer and easier to manage.
Crust: Breads with higher hydration often develop thinner, crisper crusts; lower hydration loaves tend to have thicker, chewier crusts.
What Type of Hydration Is Best For What Type of Bread?
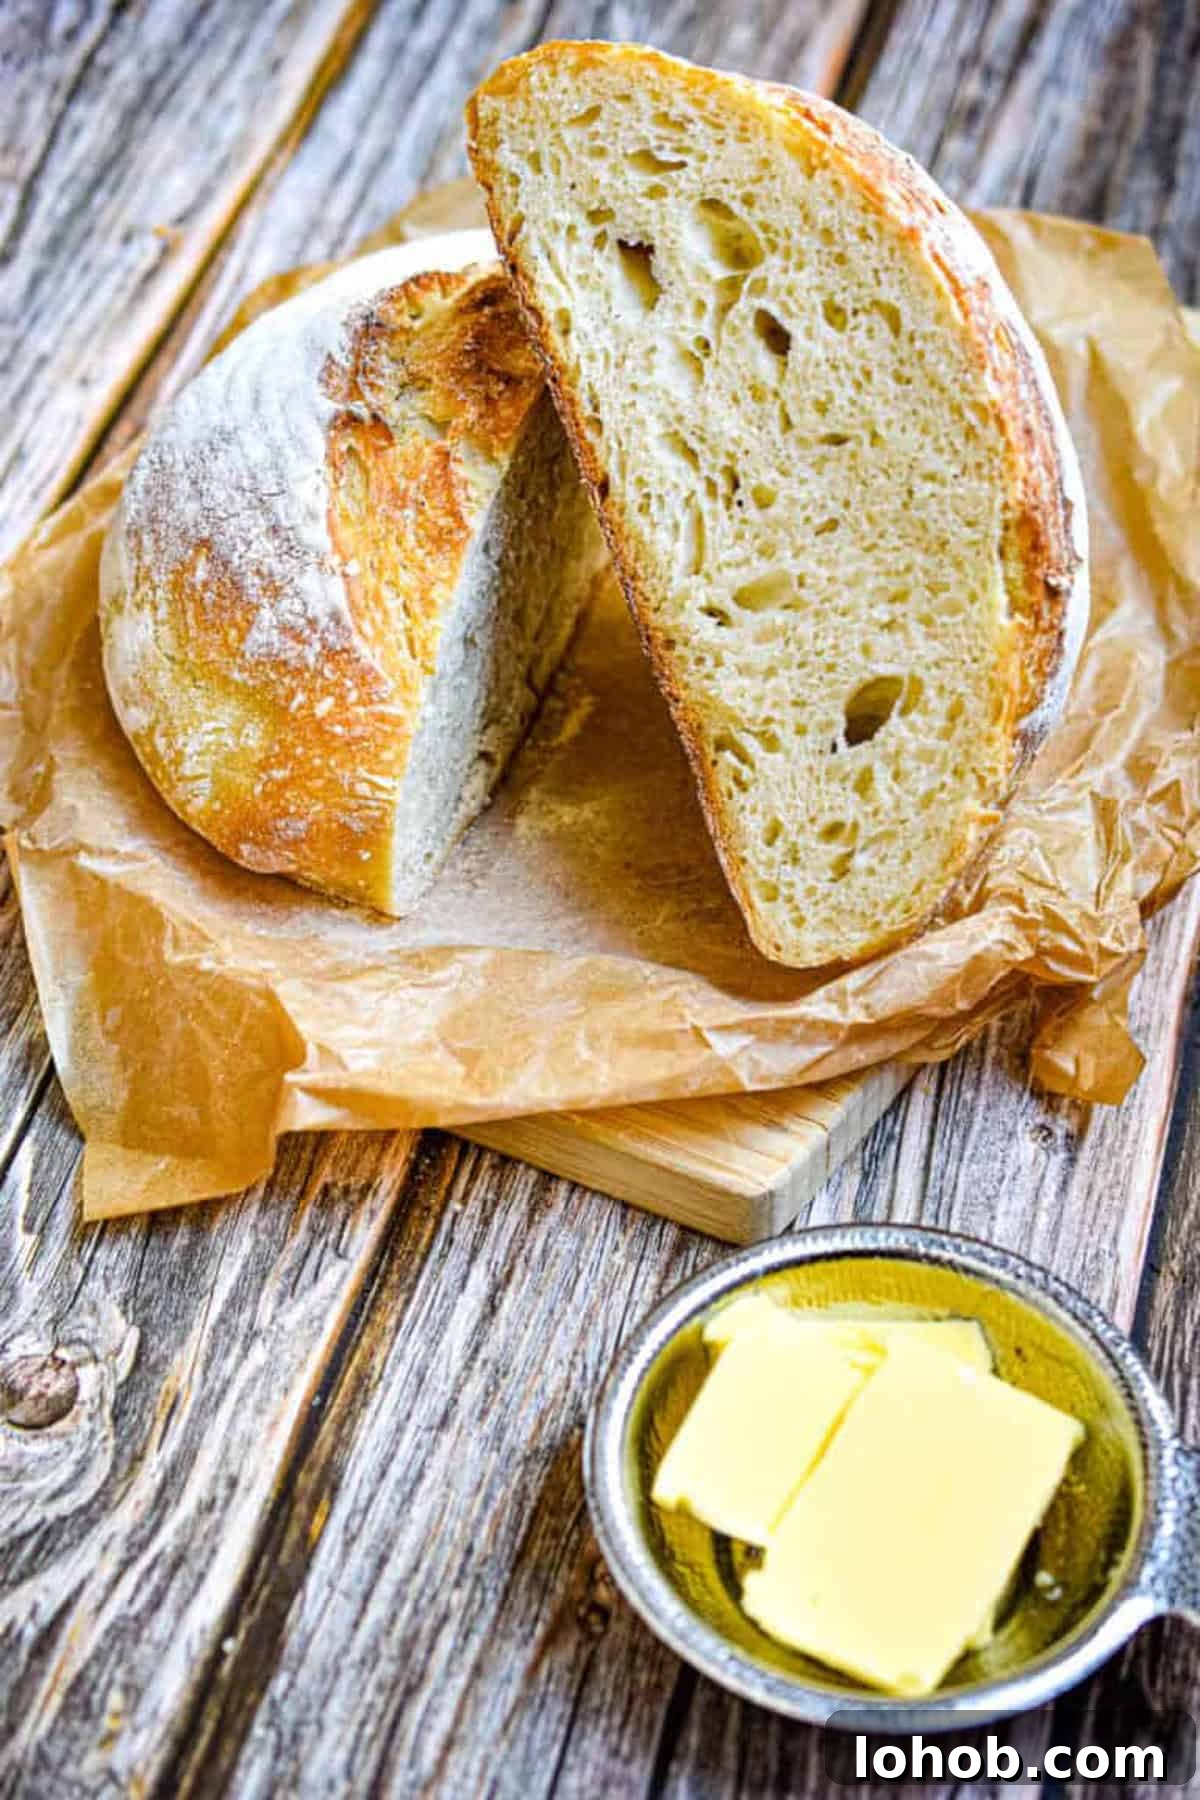
Low Hydration (50%–60%): Best for structured breads like sandwich loaves. These doughs are easier to handle and shape, and the crumb is tighter—ideal for sandwiches and toast.
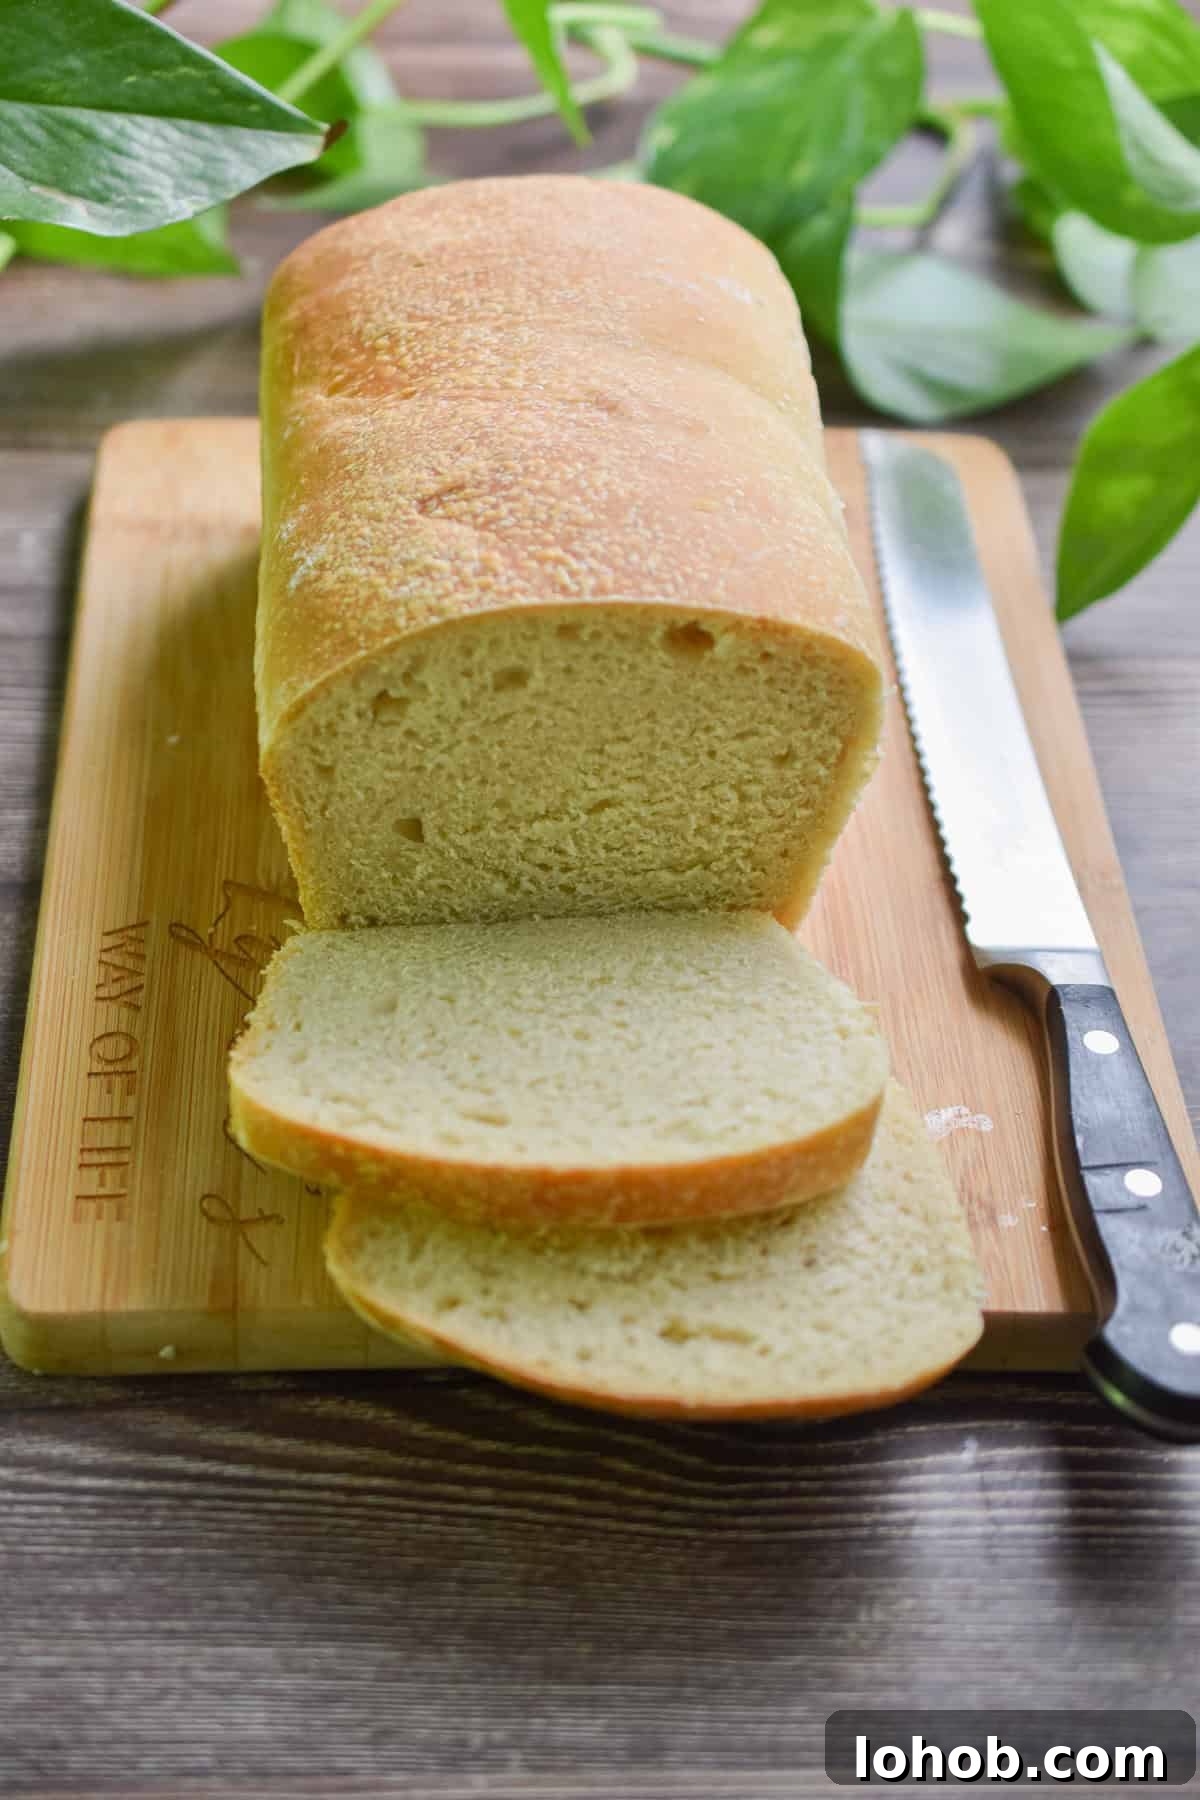
Medium Hydration (60%–70%): A versatile range used in everyday sourdough baking. It balances ease of handling with a pleasantly open crumb—great for beginners aiming for artisan-style results without too much stickiness.
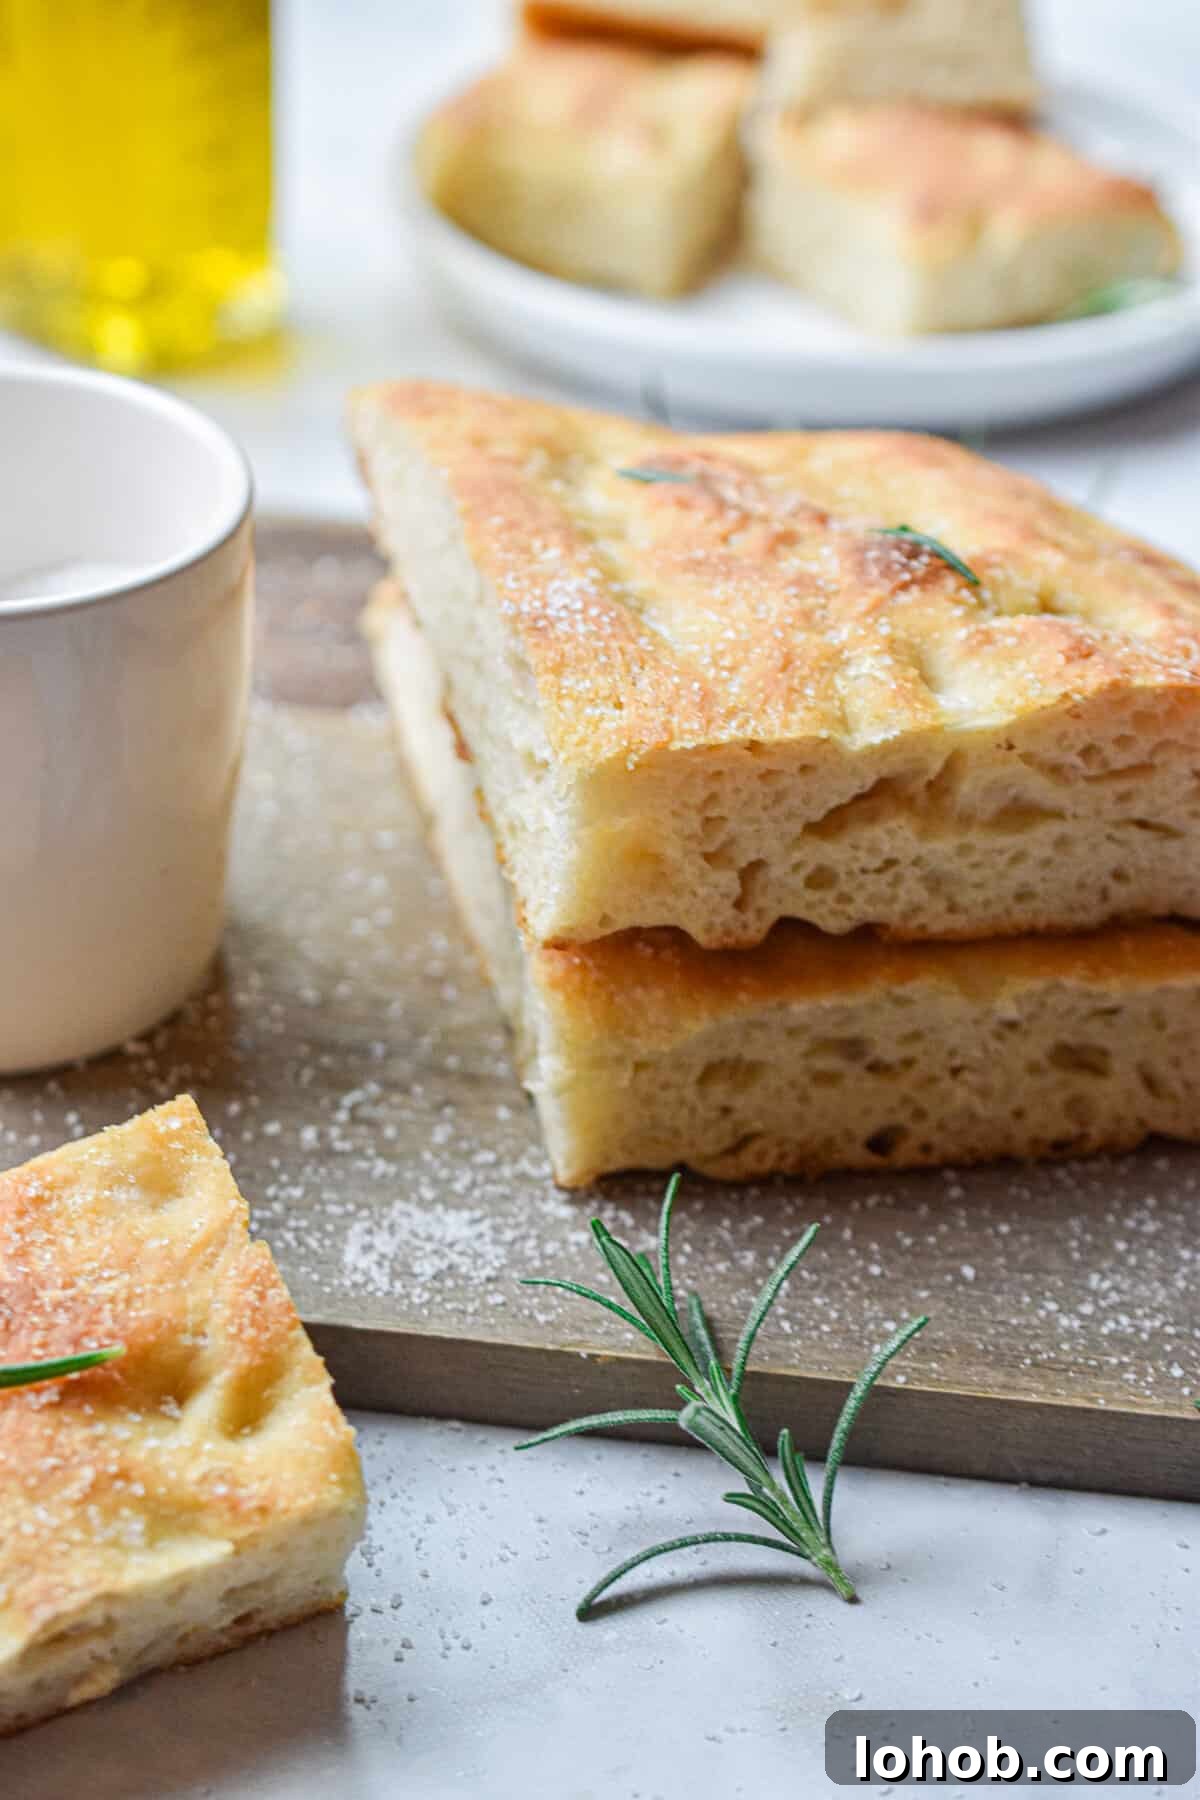
High Hydration (70%–85%): Common for ciabatta and focaccia, producing very open crumbs and a light texture. These doughs are quite slack and sticky, so they often require techniques like folds and gentle handling rather than aggressive shaping.
Lynn’s Tip!
When you’re starting out, bake at a few different hydration levels to discover which texture and handling you prefer. Small experiments will teach you a lot faster than trying to follow one perfect recipe.
How Do I Calculate Hydration Percentage?
Calculating hydration is simple: divide the weight of the water by the weight of the flour and multiply by 100. For example, 300 grams of water and 500 grams of flour equals 60% hydration (300 ÷ 500 × 100).
How To Adjust Hydration In Your Bread
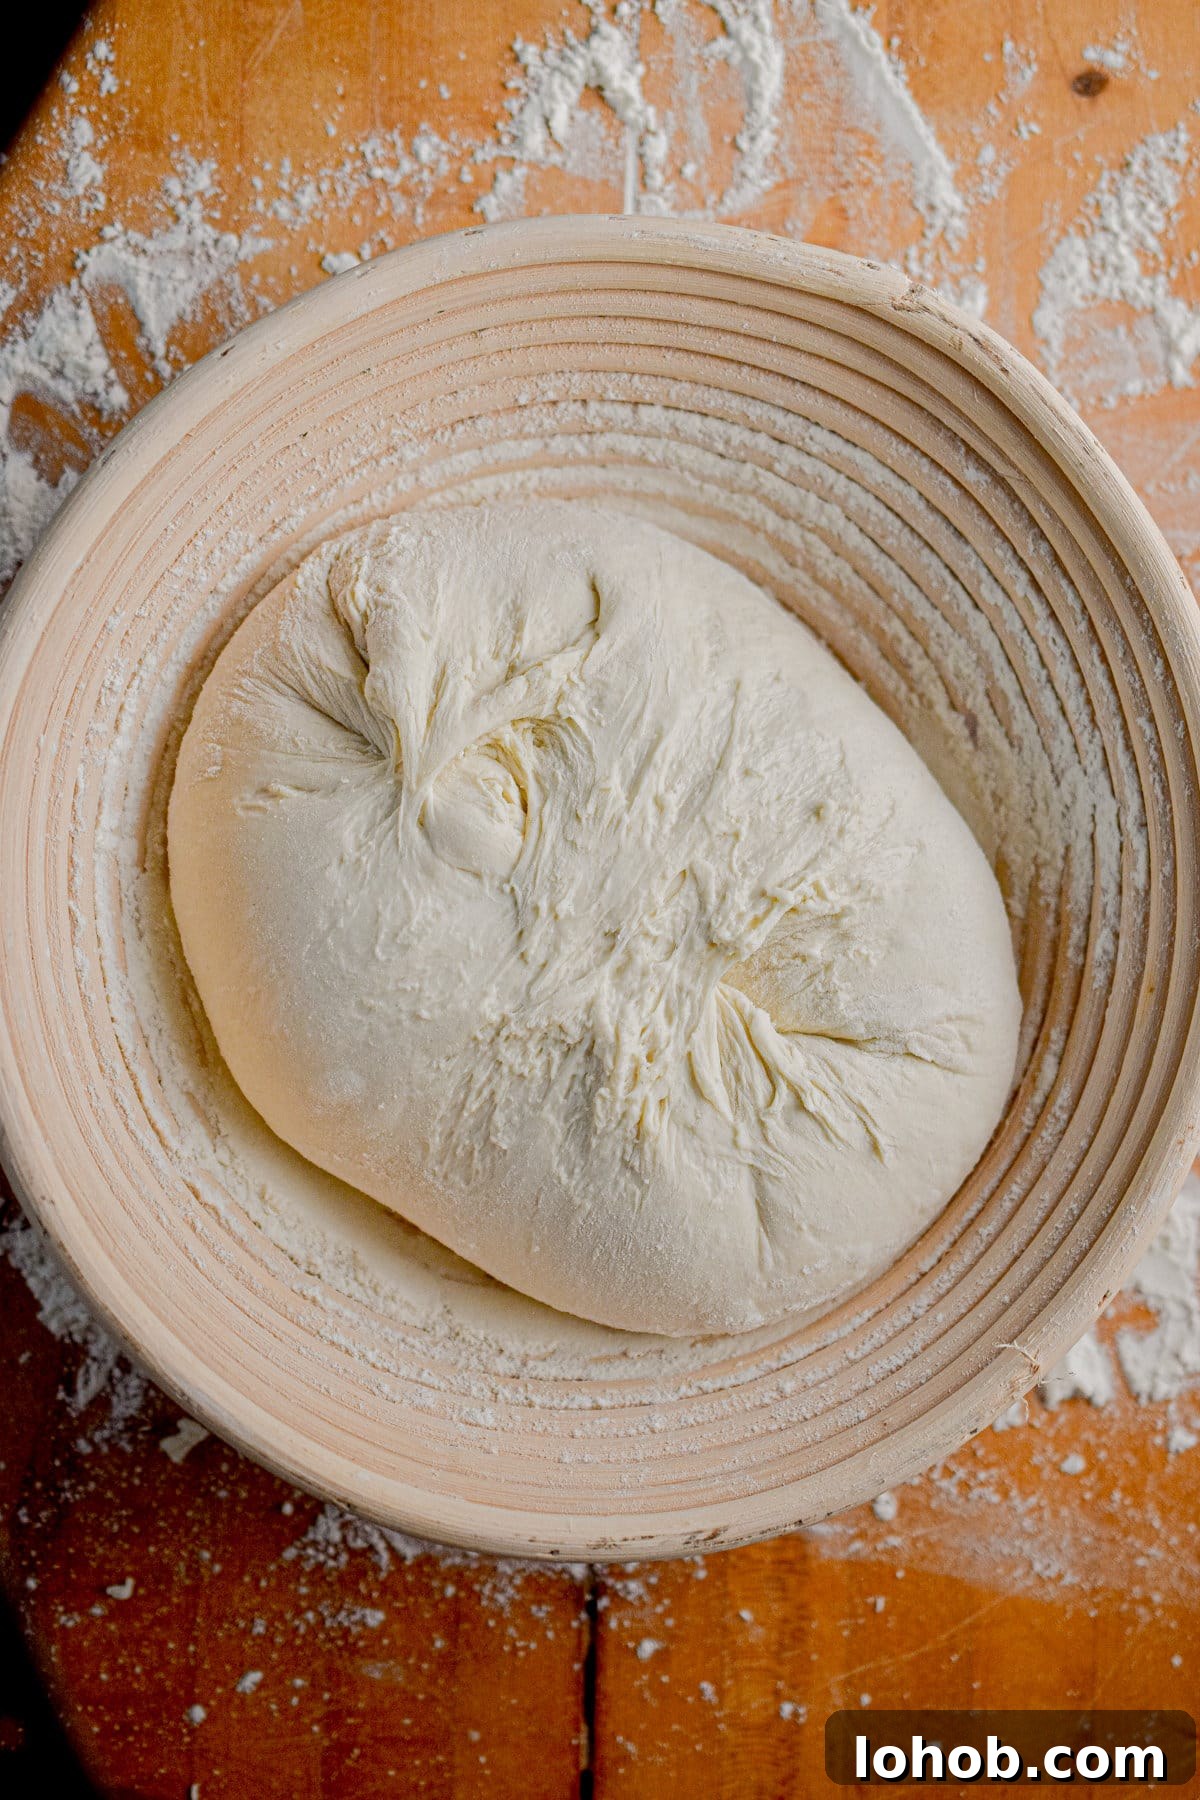
Adjusting hydration means changing how much water you add to the flour. Make small changes and observe the dough so you don’t overshoot the texture you want.
To increase hydration: Add small amounts of water—start with 10–20 grams per 500 grams of flour—and mix well. If the dough gets too sticky, use flour to dust your hands and work surface rather than adding more flour into the dough, which would change the hydration ratio.
To decrease hydration: Add small amounts of flour—10–20 grams at a time—until the dough feels firmer and easier to handle. Mix thoroughly after each addition so you can judge the effect accurately.
How Flours Affect Hydration
Bread Flour: With higher protein (about 12%–14%), bread flour absorbs more water and builds stronger gluten. Typical hydration ranges are 65%–80%. For everyday sourdough loaves aim for 65%–70%; higher for big, open crumbs.
All-Purpose Flour: Lower protein (around 10%–12%) means less water absorption. Hydration between 60%–75% is common. Beginners will find 60%–65% easier to manage, while experienced bakers can push higher for a more open crumb.
Whole Wheat Flour: High in fiber and protein, whole wheat soaks up a lot of water. Hydration often ranges from 75%–85%. For most whole wheat recipes 75%–80% keeps the dough workable; increase toward 80%–85% for a lighter crumb when using a large percentage of whole grain.
Frequently Asked Questions
For most beginners, a hydration between 60% and 70% is easiest to handle while still producing an open, satisfying crumb.
Low hydration doughs are firmer, easier to shape, and produce a tighter crumb that works well for sandwiches and spreading butter.
Hydration affects dough texture, crumb openness, crust character, and fermentation. Choosing the right hydration helps you bake the kind of loaf you enjoy.
More Sourdough Recipes
- Soft Sourdough Discard Hamburger Buns
- Sourdough Pineapple Upside Down Cake
- Homemade Sourdough Discard Graham Crackers (Better Than Store-Bought)
- Sourdough Pretzels Recipe
Did you find this information helpful?
If so, please leave a review and tag me on social media — I love seeing your bakes and hearing which hydration levels work best for you.