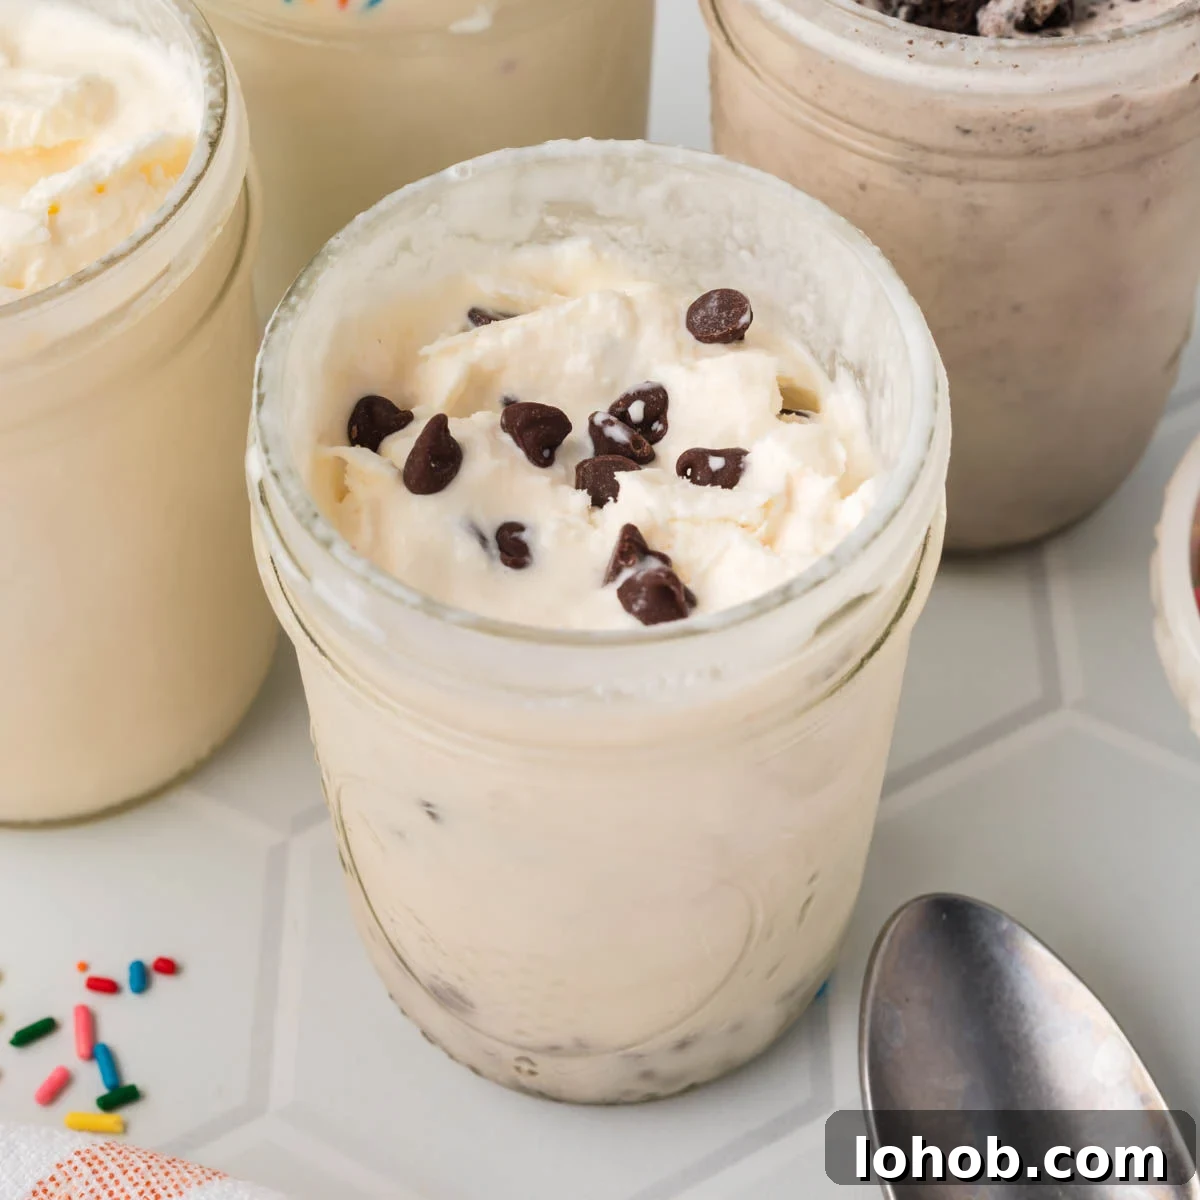
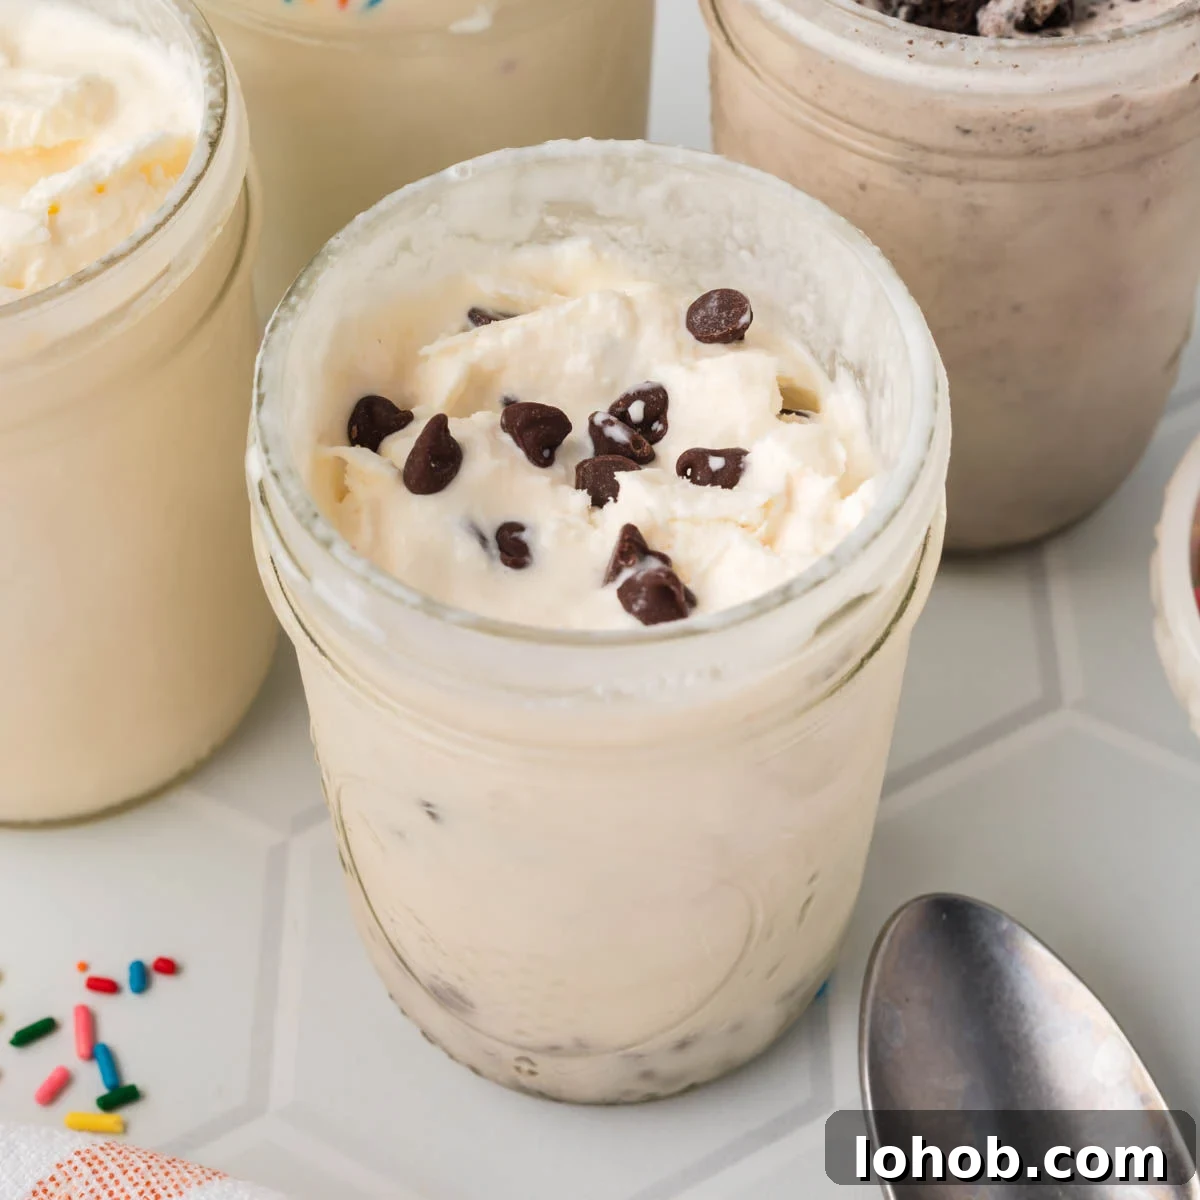
This 4-ingredient Mason Jar Ice Cream is a quick, no-churn dessert that yields a rich, creamy texture without an ice cream maker. With just a few simple pantry staples, you can shake the mixture in a jar, freeze it, and enjoy a single-serve frozen treat straight from the jar. This method is perfect for family cooking, parties, or a simple summer dessert activity with kids.
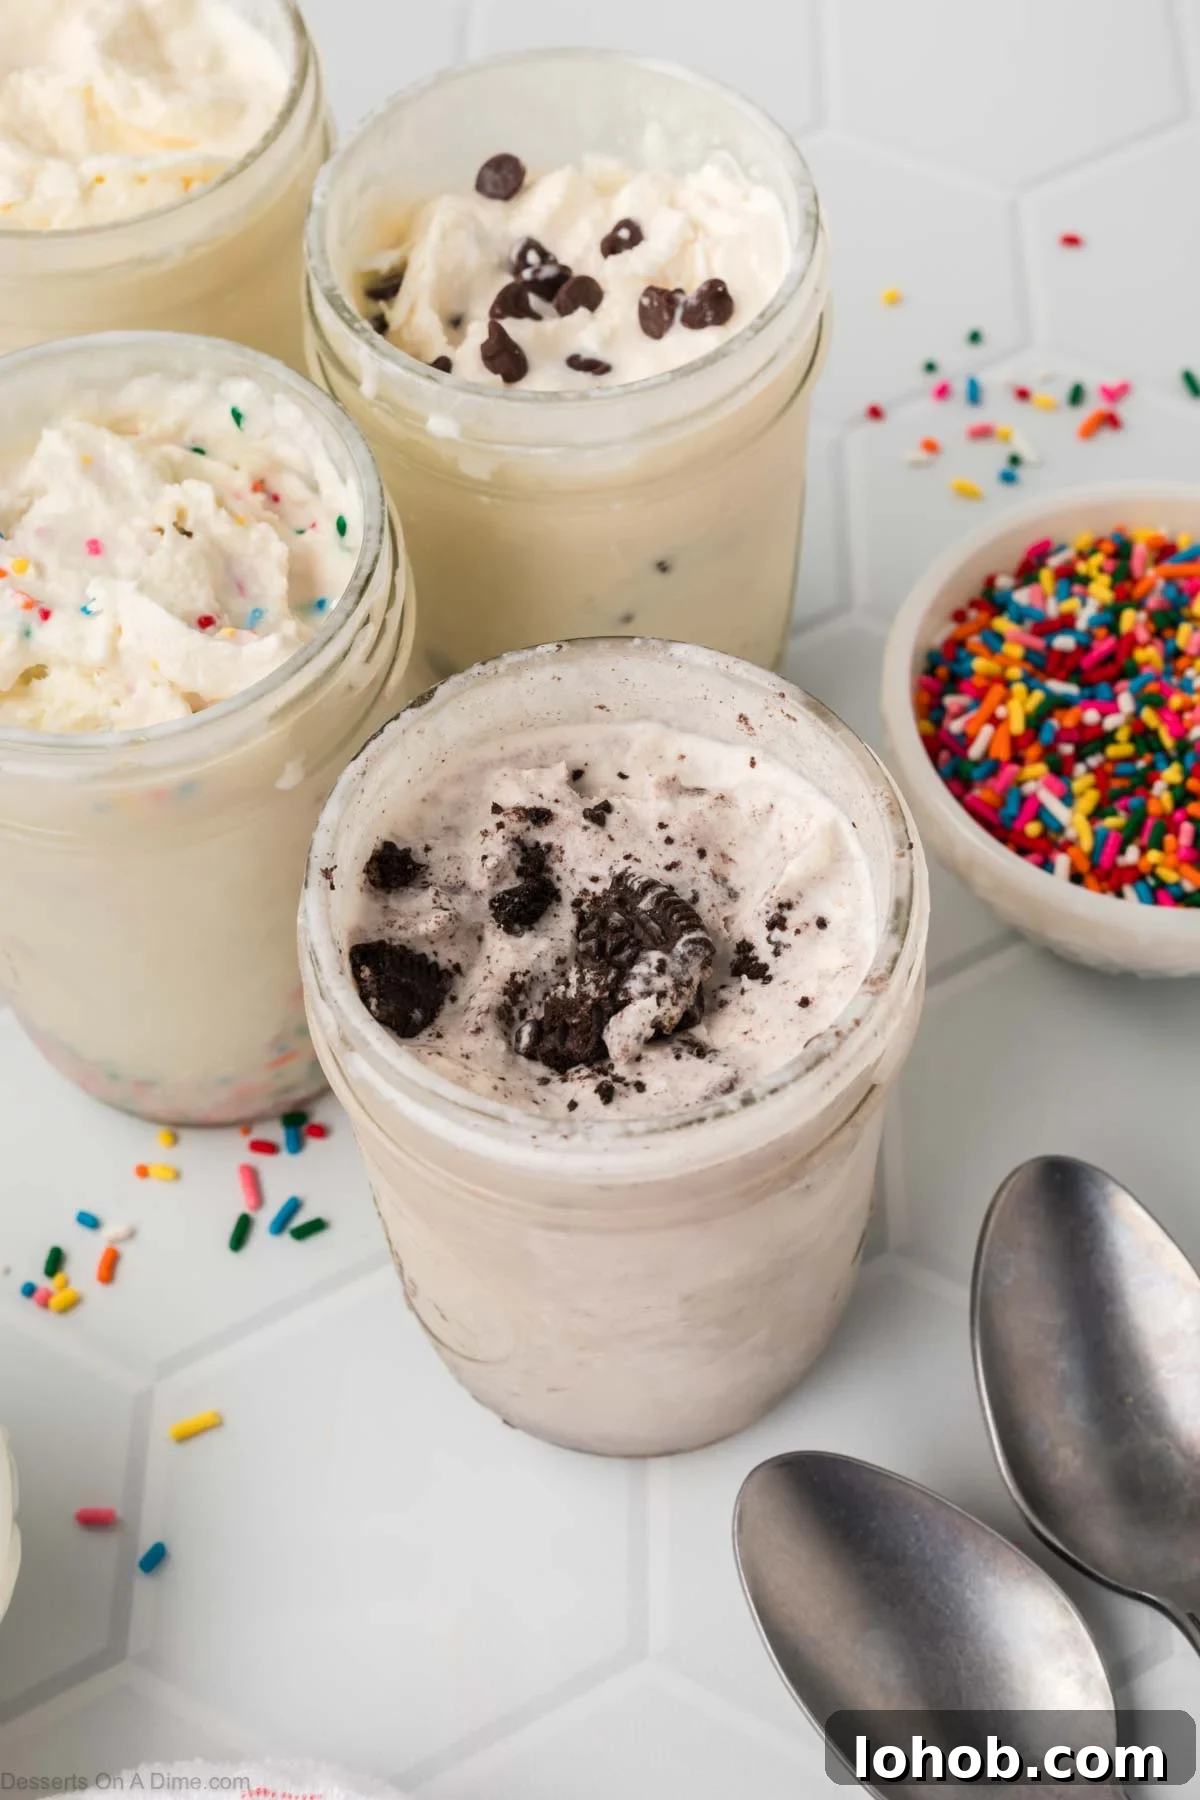
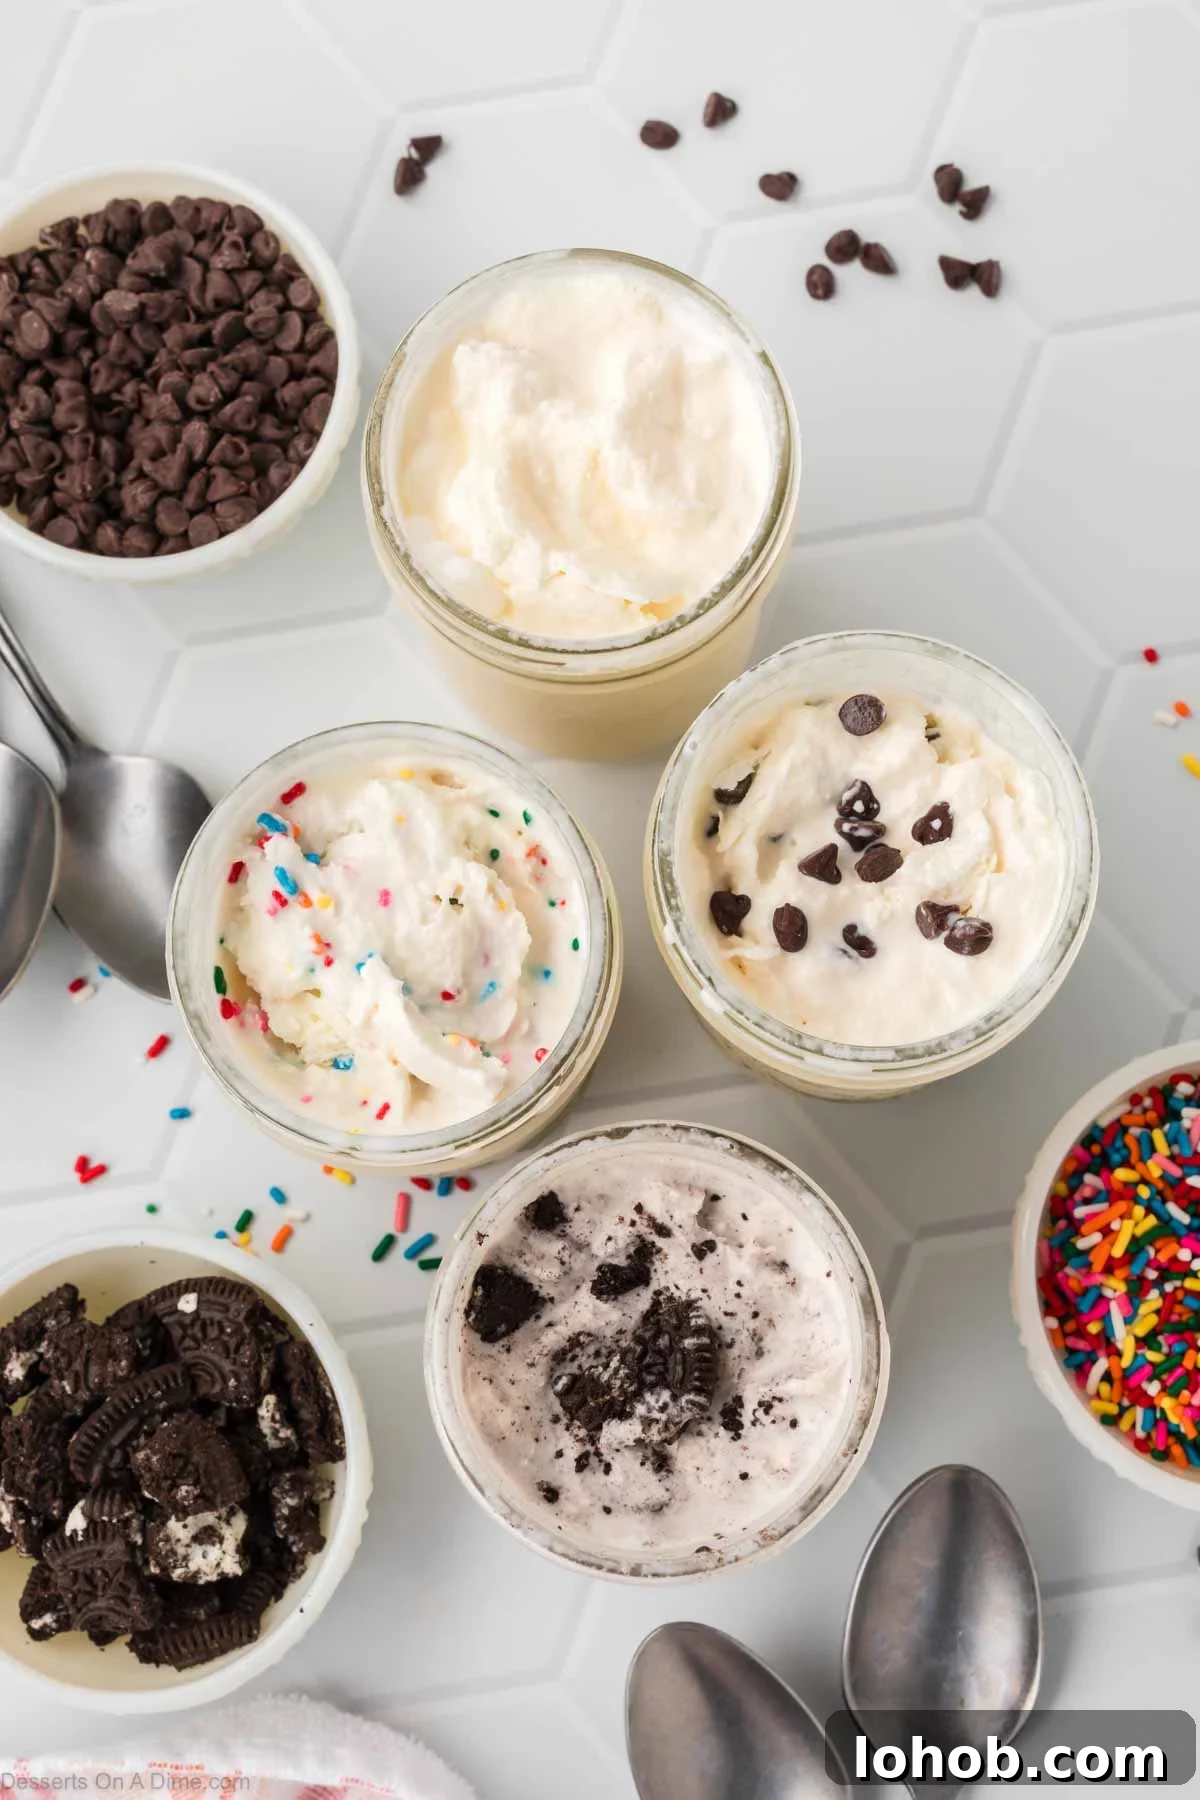
This Mason Jar Ice Cream recipe is delightfully simple and surprisingly versatile. No machine is needed—just cold heavy cream, a bit of sugar, vanilla, and a pinch of salt. Once shaken and frozen, the result is a creamy, scoopable dessert. Because each portion is made in its own jar, the recipe scales easily for individual preferences: chocolate chips in one jar, crushed cookies in another, or fresh berries in a third.
Why We Love This Recipe
- Only 4 ingredients: Everything you need is likely already in the pantry or fridge.
- No ice cream maker: Make rich, homemade ice cream with nothing more than a jar and a little elbow grease.
- Fun to make: Kids enjoy shaking the jars and choosing mix-ins, so it’s a great hands-on activity.
- Customizable: Add cookies, candies, fruit, sauces, or nuts to create endless flavor combinations.
- Creamy texture: The technique produces a smooth, satisfying consistency with minimal effort.
- Perfect portions: Each mason jar becomes an individual serving, making cleanup and storage easy.
Ingredients
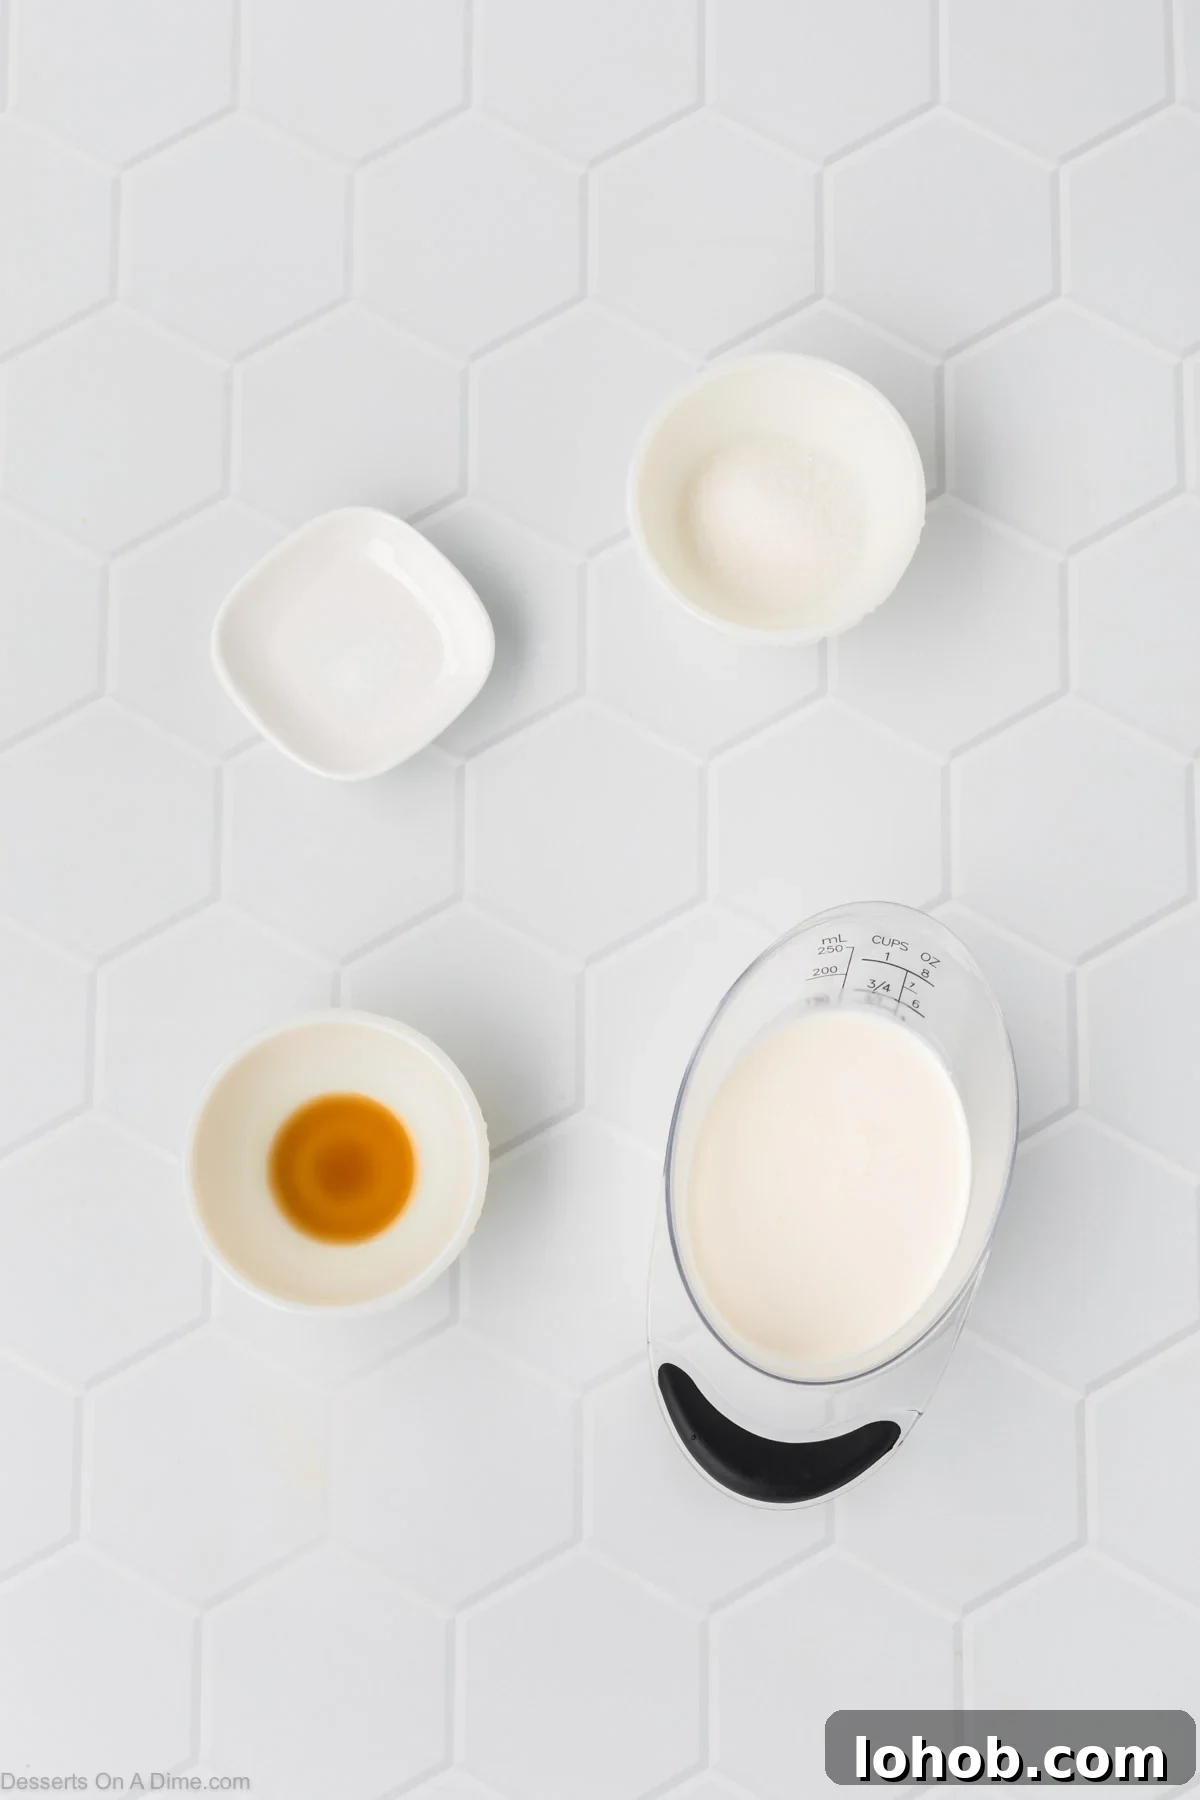
- Heavy cream: Use very cold heavy cream so it thickens properly and creates a rich texture.
- Granulated sugar: Sweetens the ice cream and dissolves easily into the cream.
- Vanilla extract: Pure vanilla gives a classic, homemade flavor.
- Pinch of salt: Balances the sweetness and enhances the overall flavor.
- Optional add-ins: Crushed cookies, chocolate chips, sprinkles, cocoa powder, fruit, or sauces for variety.
Step-by-Step Instructions
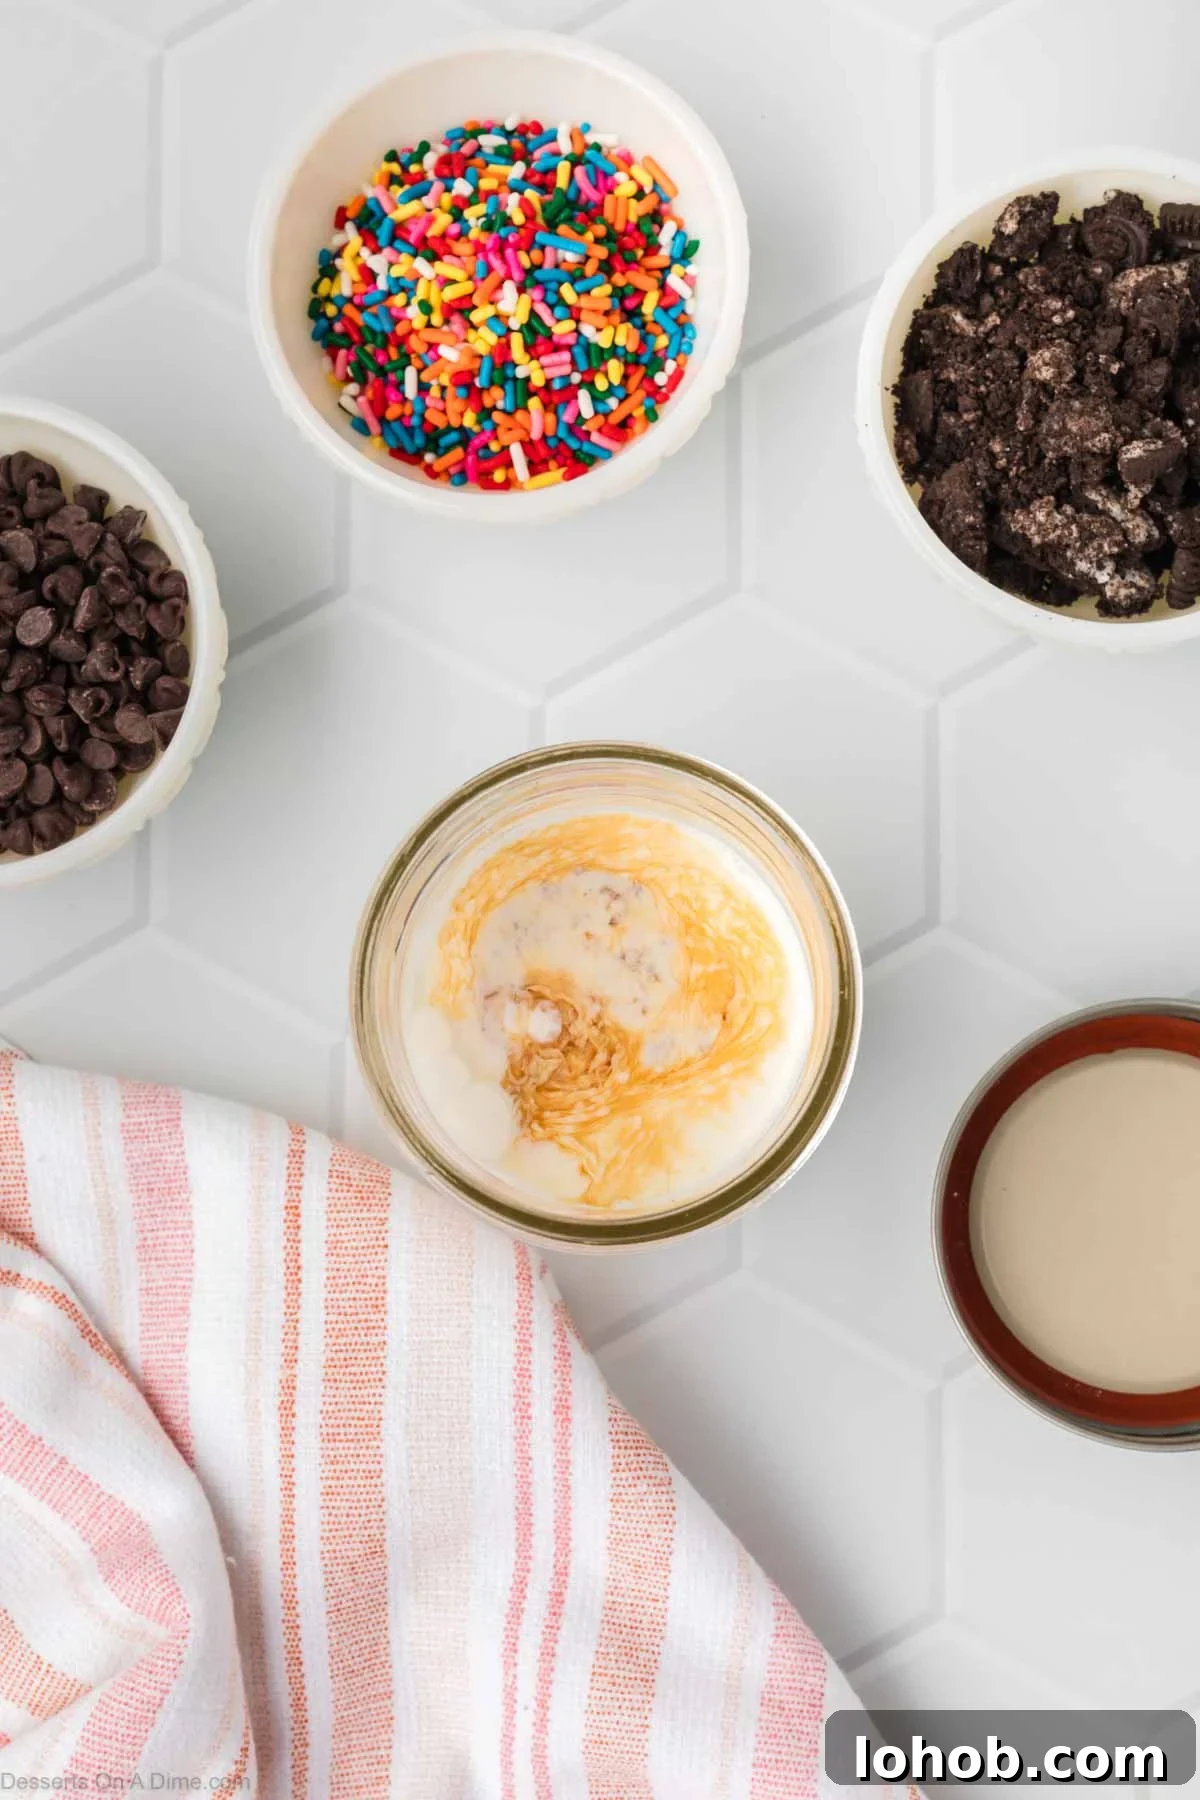
Step 1. Add all ingredients to at least an 8-ounce mason jar. If you’re using add-ins, stir them into the heavy cream before sealing the jar. Leave some space at the top so the mixture can move while shaking.
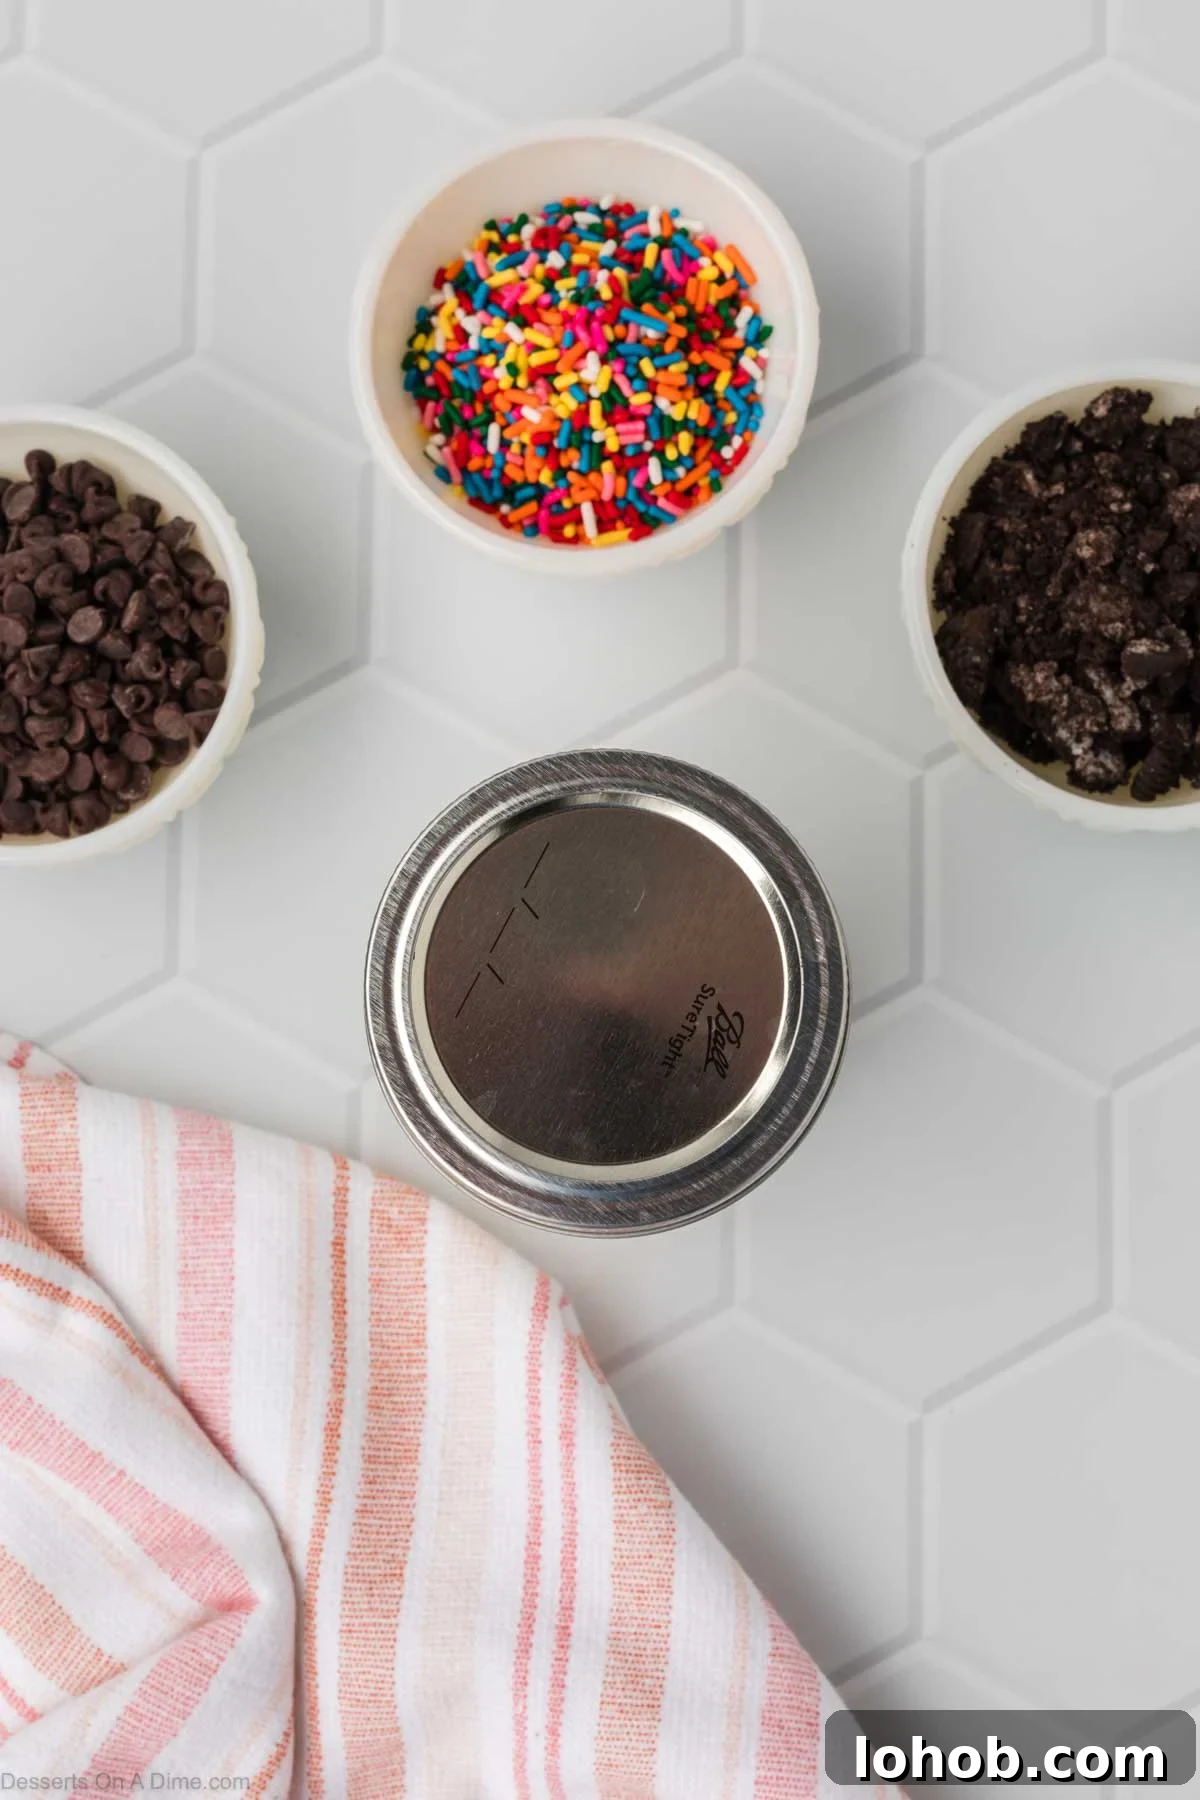
Step 2. Secure the lid tightly. Make sure the jar is sealed well to prevent leaks while shaking.
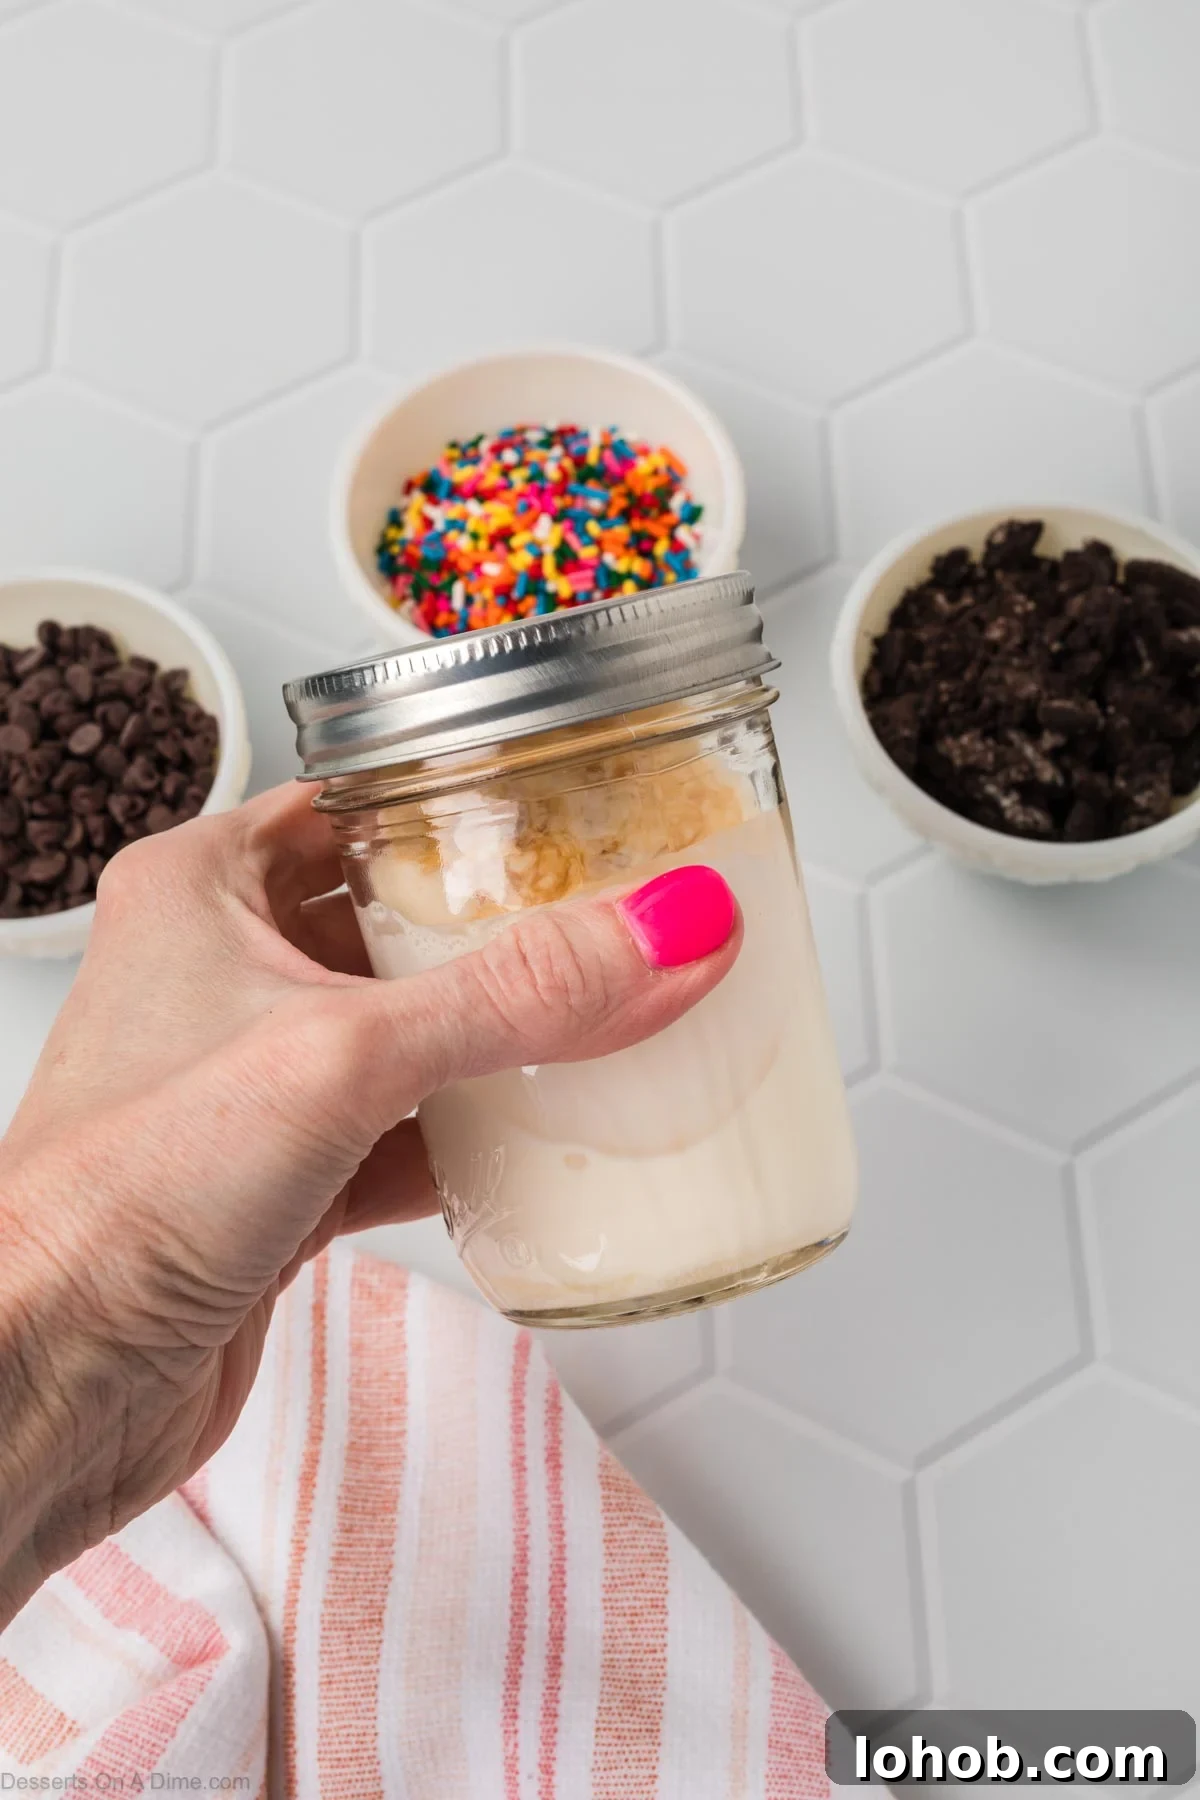
Step 3. Shake the jar vigorously for 4–5 minutes. The mixture should double in volume and thicken noticeably.
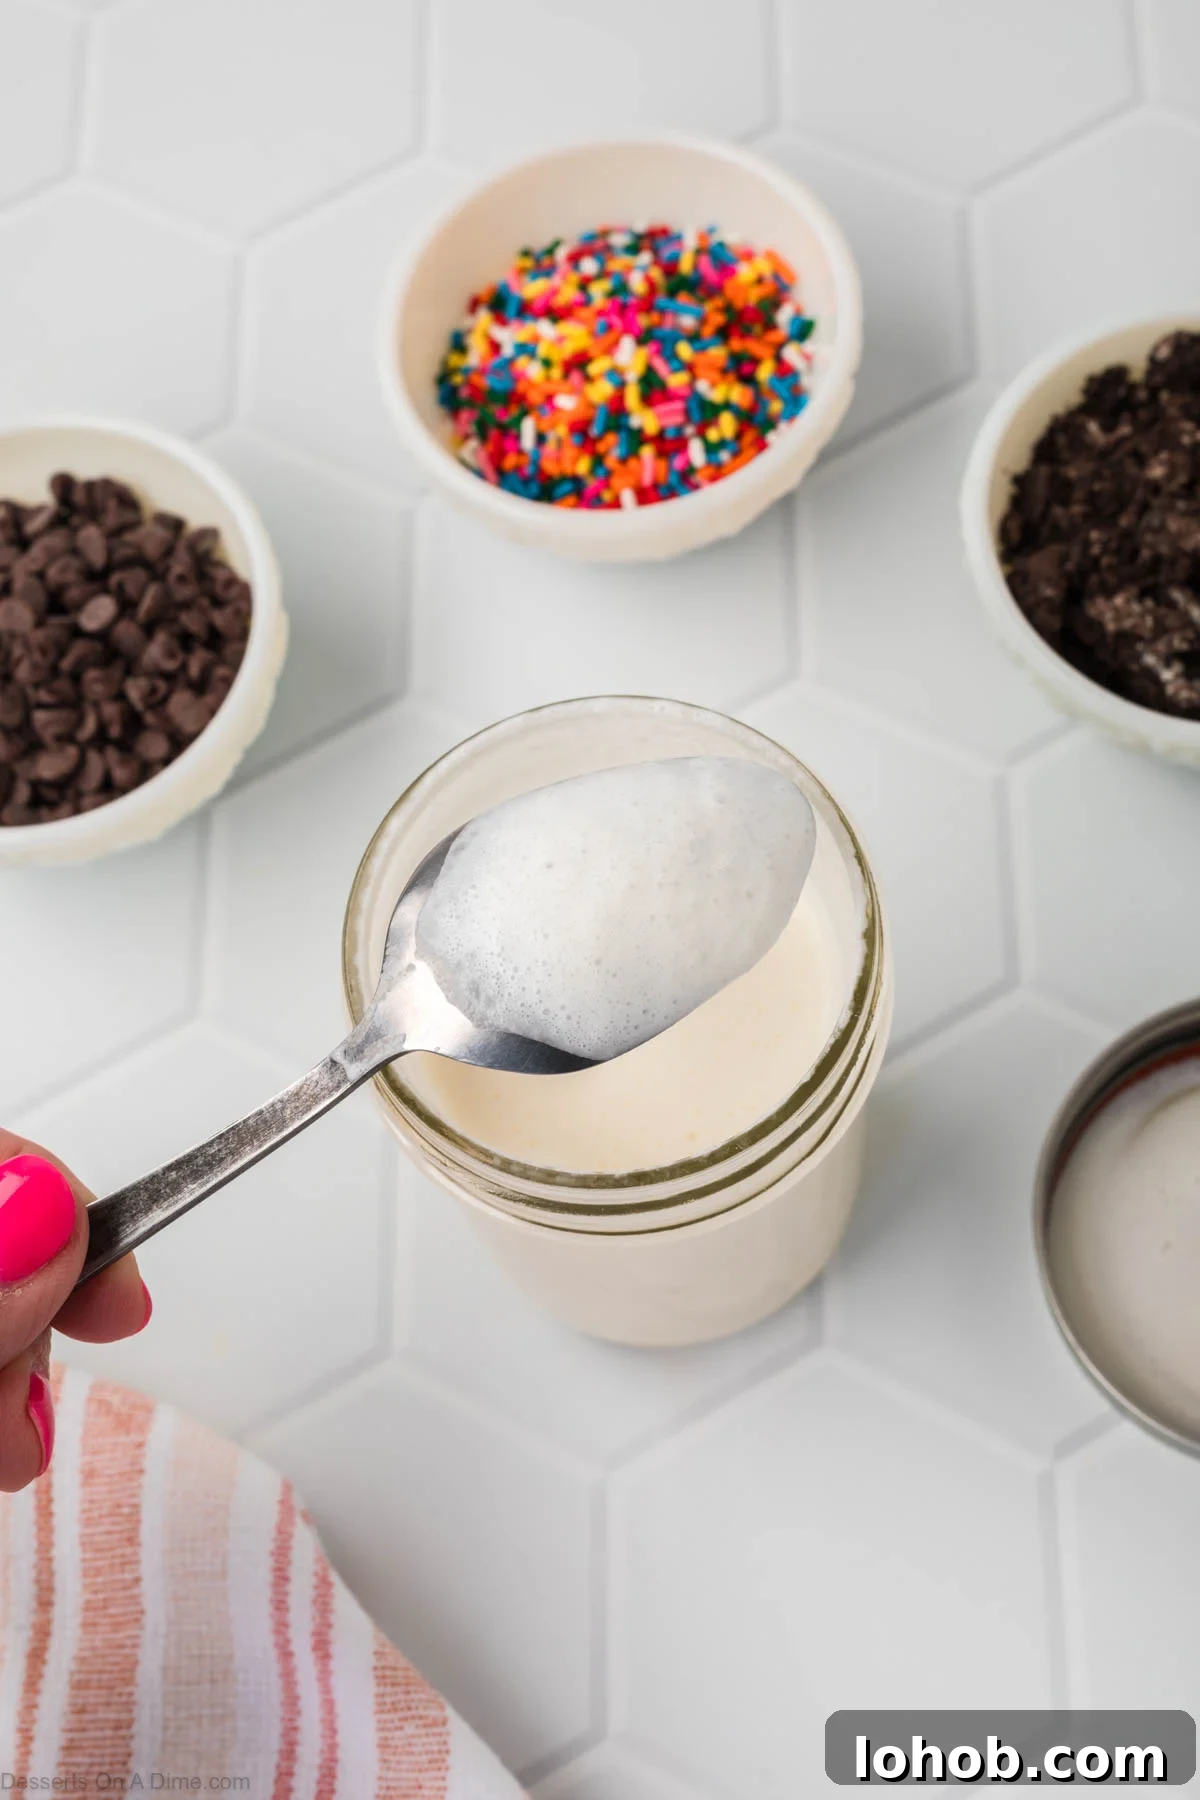
Step 4. Remove the lid and check the consistency. The base should coat the back of a spoon but not be as stiff as whipped cream. If it’s too thin, give it a little more shake.
- Step 5. Reseal the jar and freeze for 2–3 hours, or until firm. Allow the jar to sit at room temperature 5–10 minutes before serving if the ice cream is very firm.
Add-Ins and Toppings
- Fruit: Fresh strawberries, blueberries, raspberries, peaches, or lemon zest brighten the flavor.
- Brownies and cookies: Chunks of brownies or crushed cookies add texture and richness.
- Nut butters: Swirls of peanut butter or almond butter make a decadent addition.
- Nuts: Chopped pecans, walnuts, or almonds add a pleasant crunch.
- Sauces: Swirl in caramel, strawberry sauce, or hot fudge for extra indulgence.
- Chocolate pieces: Chopped candy bars or chocolate chips are always a hit with kids.
Pro Tips
- Don’t overmix: Shake only until the mixture thickens. Overmixing can turn cream into whipped cream or even butter.
- Freeze timing: Freeze jars for about 2–3 hours. Freezing much longer can promote ice crystal formation that affects texture.
- Use wide-mouth jars: Wide-mouth mason jars make adding mix-ins, shaking, and scooping easier.
- Leave headroom: Leave space at the top of the jar so ingredients can move while shaking.
- Start cold: Very cold heavy cream thickens faster and creates a creamier end result.
- Add mix-ins after shaking: Fold in cookies, chips, or candy after the base is mixed so they don’t sink or break up too much.
- Check jar safety: Use freezer-safe jars to avoid cracking in the freezer.
Storage
Best enjoyed fresh: For the creamiest texture, serve within a few hours of freezing.
Freeze leftovers: Keep any leftover ice cream in the jar or an airtight container for up to one week. Press a piece of parchment or plastic wrap directly against the surface to reduce ice crystals.
Soften before serving: Let the jar sit at room temperature for 10–15 minutes for easier scooping if the ice cream is very firm.
Seal tightly: Close lids securely to help prevent freezer burn and maintain the best texture.
Frequently Asked Questions
Natural sweeteners like honey or maple syrup can be used, but they may change the texture slightly. If using a liquid sweetener, use a little less to avoid thinning the cream too much.
Do I have to use a mason jar?
A mason jar is the easiest option because it seals well and is sturdy for shaking, but any airtight, freezer-safe container with a tight lid will work.
Can I use milk instead of heavy cream?
Milk will produce a less creamy result because it contains less fat. Heavy cream yields the richest, most satisfying texture for this no-churn method.
More Homemade Ice Cream Ideas
- Cookies and Cream Ice Cream — rich and full of cookie chunks.
- Red Velvet Ice Cream — a classic dessert flavor in frozen form.
- Mint Chocolate Chip Ice Cream — refreshing mint with chocolate pieces.
- Chunky Monkey Ice Cream — banana base with nuts and chocolate for a nostalgic favorite.
Make this easy 4-ingredient Mason Jar Ice Cream for a fun, customizable treat everyone will enjoy. Try different mix-ins and topping combinations to discover your favorite flavor. This simple no-churn recipe is ideal for summer, parties, or a quick homemade dessert that doesn’t require special equipment.
Mason Jar Ice Cream
Prep Time: 5 mins • Shake: 4–5 mins • Freeze: 2–3 hrs • Total: ~2 hrs 15 mins • Servings: 1
Ingredients
- ½ cup heavy cream
- 2 teaspoons granulated sugar
- ¼ teaspoon vanilla extract
- Pinch of salt
- Optional: crushed cookies, sprinkles, cocoa powder, chocolate chips, fruit, or sauce
Instructions
- Combine all ingredients in an 8-ounce mason jar. Add any optional mix-ins now or after shaking.
- Seal the jar tightly. Shake vigorously for 4–5 minutes until the mixture doubles in size and thickens.
- Remove the lid and check the consistency: it should coat the back of a spoon without being as stiff as whipped cream.
- Reseal the jar and freeze for 2–3 hours. Remove from the freezer a few minutes before serving if needed to soften slightly.
Notes
Do not overmix, or the cream can turn into whipped cream or butter. Avoid freezing much longer than 3 hours to reduce the chance of ice crystals forming. This base recipe is easily customized, so feel free to experiment with flavors and toppings.