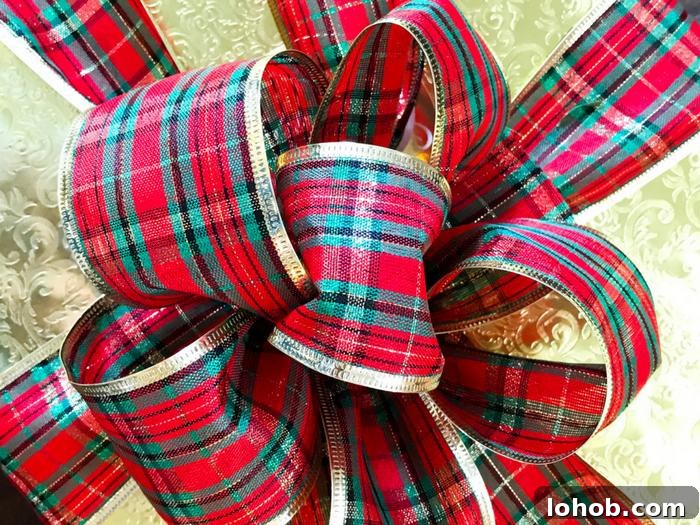
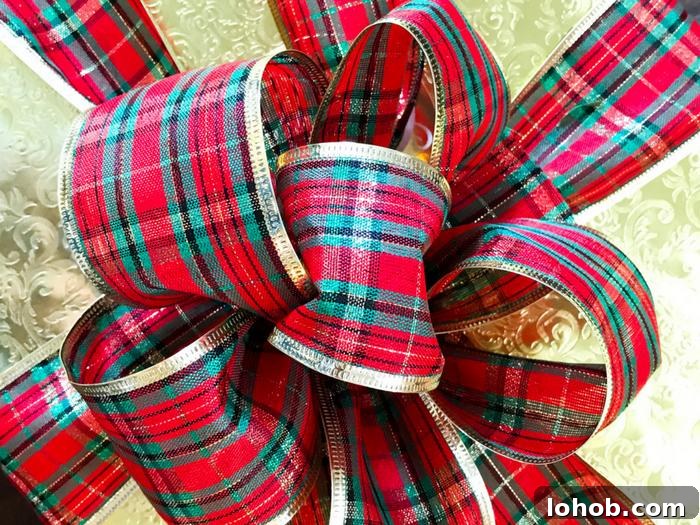
Elevate your gift wrapping with beautiful, professional-looking bows that are simple to make at home. These bows add an elegant finishing touch to any present and are surprisingly easy once you know the method. I make one of these for nearly every package I wrap during the holidays because they look impressive and hold up well.
I first learned this style of bow about twenty years ago while shopping with my mother. We stopped at a small boutique, and I still remember watching the shop assistant wrap a purchase and finish it with a stunning bow made in this exact way. Since then I’ve refined the technique and now use it every year. Below you’ll find a clear tutorial, practical tips, and small variations so you can tailor the look to different packages and projects.
Learn the technique in the video tutorial below, then read the tips and variations to customize your bow.
Materials you’ll need
- Ribbon — I recommend 2½ inch (about 6 cm) wide ribbon for a balanced, full bow. You can use wider or narrower ribbon depending on the size of your package or the effect you want.
- Wire-edged ribbon — ribbon with a wired edge holds shape much better and creates crisp, lasting loops. If the package doesn’t indicate wire, you can check by feeling the edge for a thin wire or by gently bending the ribbon to see if it holds form.
- Scissors — a sharp pair to trim clean edges and shape the tails.
- Small piece of floral wire or thin twist tie — for securing the center of the bow tightly so the loops don’t loosen.
Practical tips for the best-looking bows
- Use 2½ inch ribbon most often. This width creates full, elegant loops without overpowering a standard gift box. Occasionally I’ll use wider ribbon for very large packages or a top-of-tree bow, and narrower ribbon for small favors.
- Buy ribbon in bulk if you wrap many gifts. My personal go-to places are stores that offer good value on large spools; quality and price make a difference when you plan to reuse ribbon year after year.
- Choose wire-edged or mesh ribbon when possible. The wired edge helps each loop keep its shape and gives the bow a more structured, professional look. Mesh ribbon is lightweight and airy, ideal for larger decorative bows or tree toppers.
- For a tree-top bow using mesh or very wide ribbon, you can modify the technique by cutting small slits on each side of the center strip rather than forming perfect half-circles. This speeds construction and creates a fuller, layered effect suited to tree decor.
Step-by-step overview
Start by cutting a length of ribbon long enough for several loops—it’s better to have a little extra than to run short. Form matching loops on either side of the center, arranging them so the bow looks balanced. Secure the center tightly with floral wire or a twist tie, then gently fan and shape the loops to create volume. Trim the tails at an angle or into a classic V-cut for a polished finish. If desired, layer another contrasting ribbon underneath for a two-tone look.
Common problems and fixes
- Bow feels floppy: Make sure you used wire-edged ribbon or add a lightweight support layer underneath. Tighten the center wire so loops don’t collapse.
- Uneven loops: Count and size your loops before securing. Adjust by pulling or pinching individual loops until the shape is symmetrical.
- Ribbon frays at the cut: Use sharp scissors and cut at a diagonal, or gently singe synthetic ribbon edges with a flame from a safe distance to seal them (only if you’re comfortable and cautious).
If you have questions about specific ribbon types, package sizes, or a particular look you want to achieve, leave a comment here or on the video. I’ll answer as many questions as I can and often share variations or quick fixes from my own experience.
These bows are a simple way to transform ordinary wrapping into something memorable. With a little practice, you’ll be able to create consistent, beautiful bows that make your gifts stand out. Happy wrapping!